Behat Fedora Quickstart
Setting up Behat on a Fedora installation
So you have your Fedora desktop set up on your machine or in your virtual environment. The first thing we are going to do is install Google chrome within that environment.
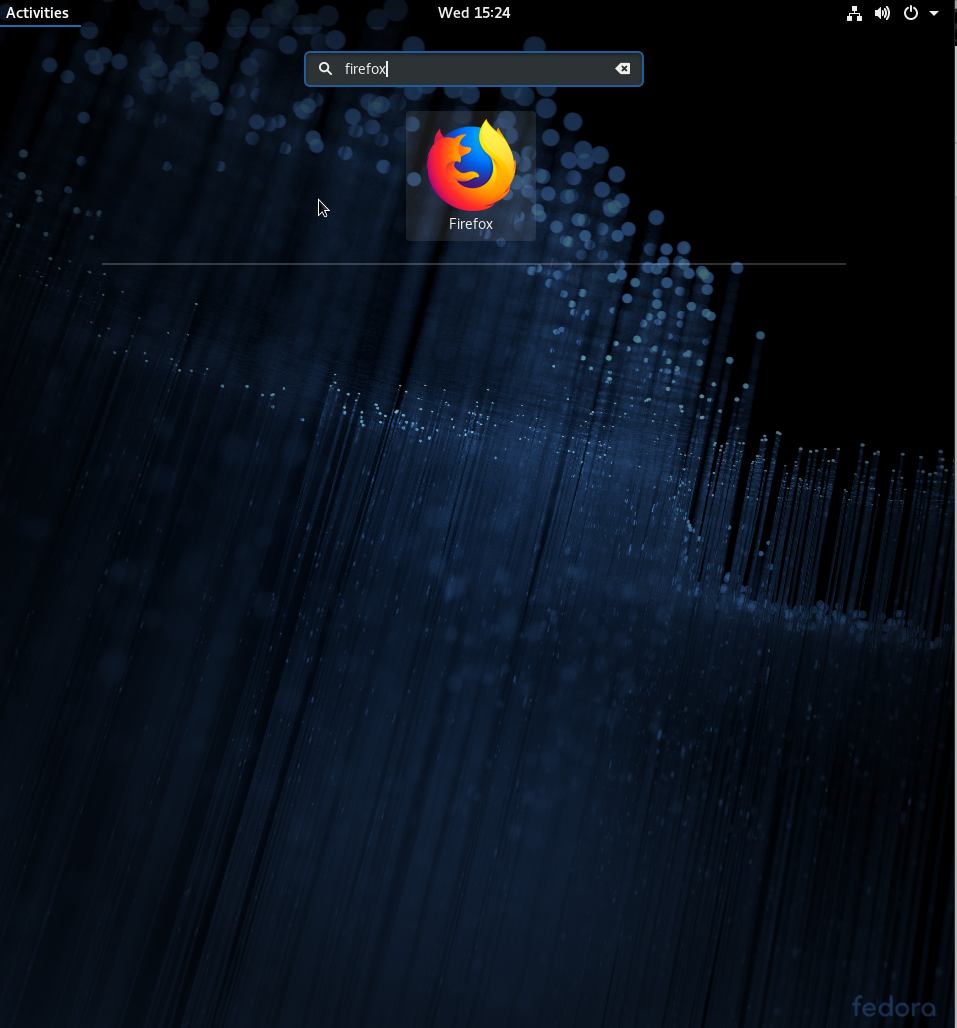
Open up Firefox by hitting the windows key within the virtual machine and type fire fox and hit enter (or click on the firefox logo if you see it).
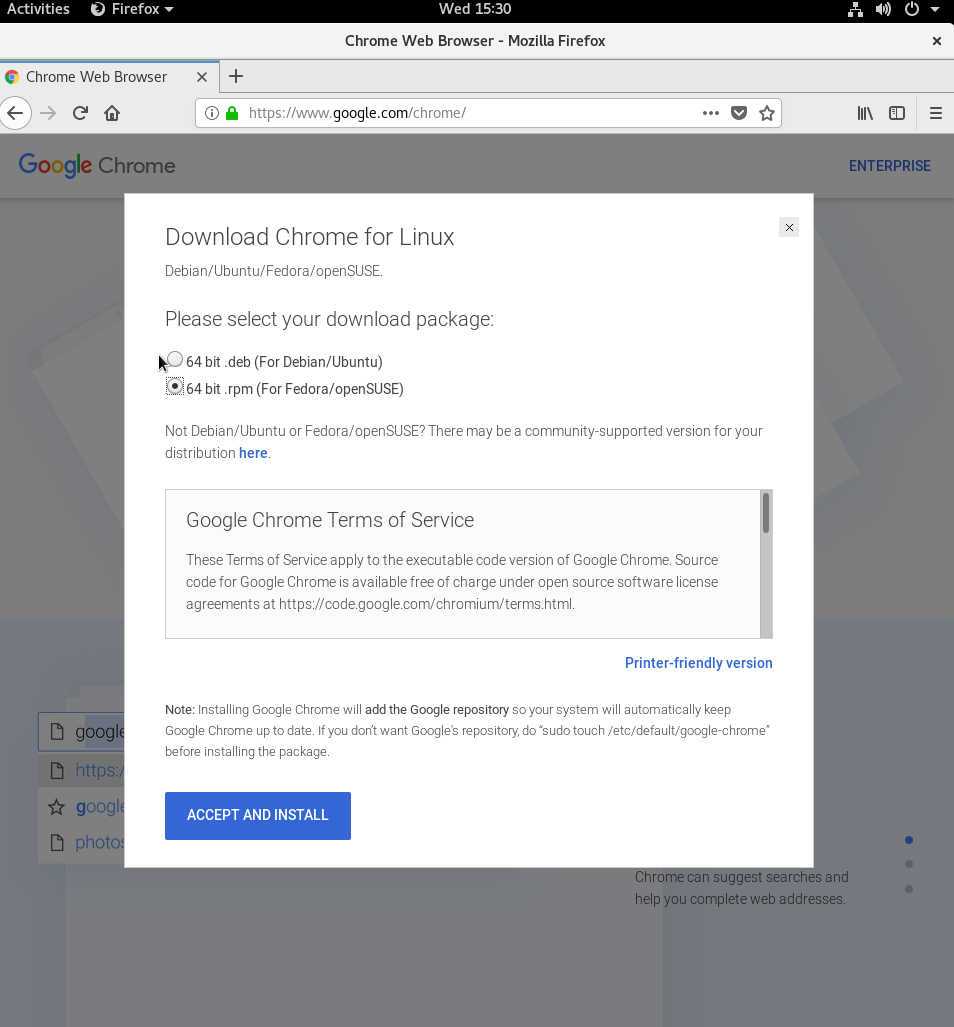
Go to www.google.com/chrome and hit download and choose Fedora and then accept and install.
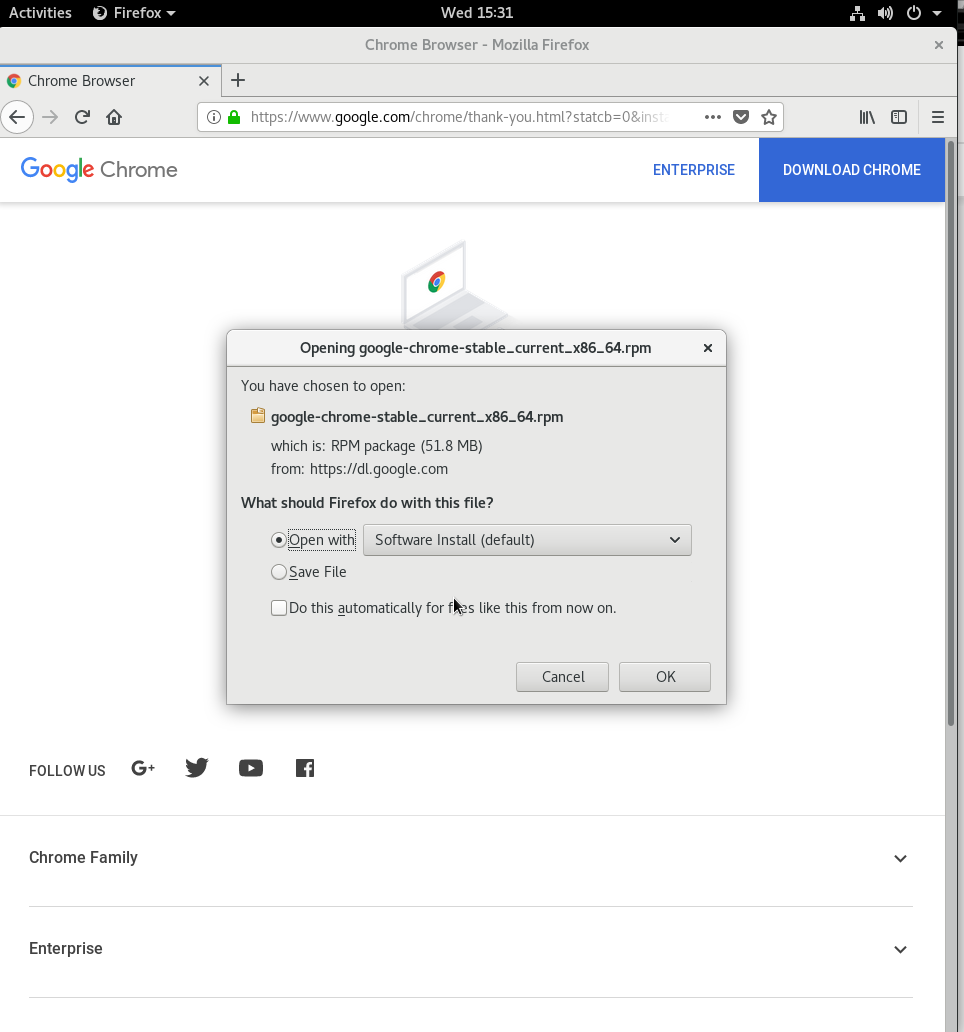
Open with the software center and hit install.

Now we need to create a testing directory which will have everything you need for testing.
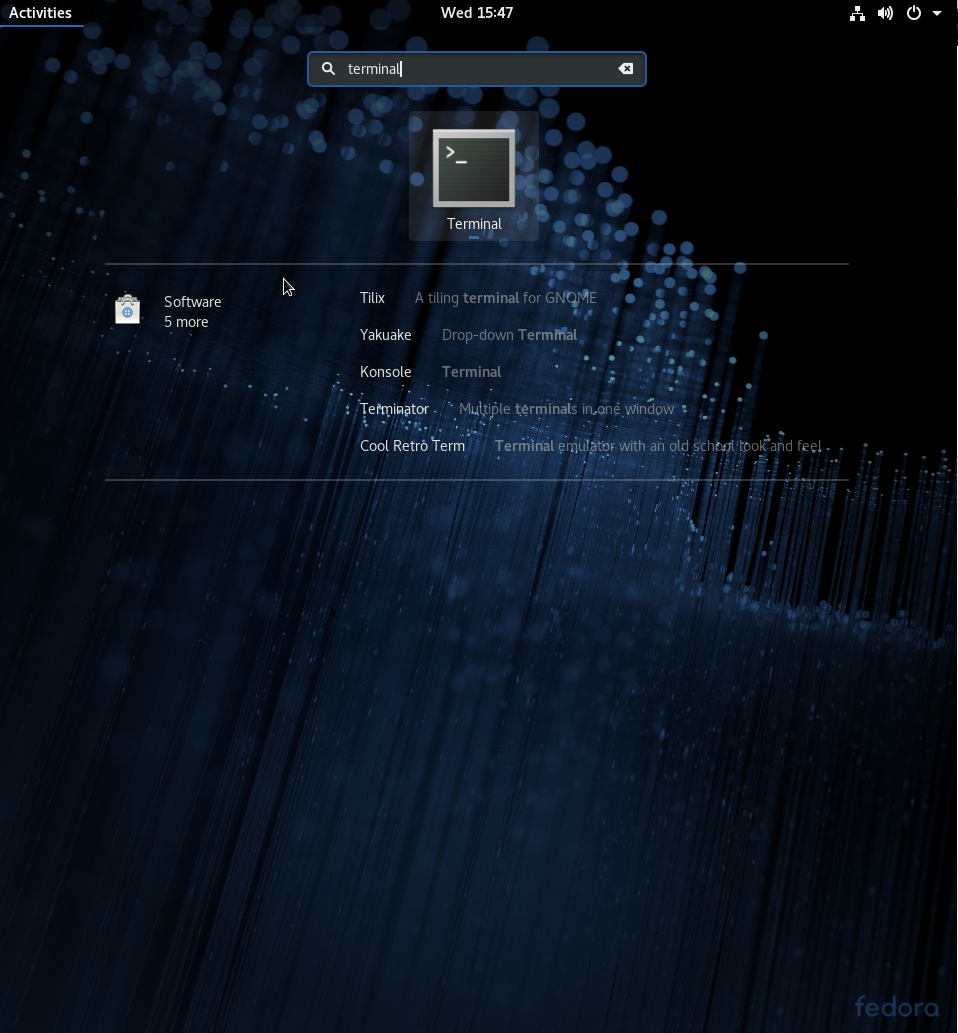
First open a terminal by doing the exact same as before when we opened firefox except swap the word "firefox" for "terminal" and hit enter.
A side note in regards to the terminal. It's perfectly normal to not receive much feedback from commands. Always let your current command finish before you begin to try start the next one. You can tell your command is finished when you see your username appear again.
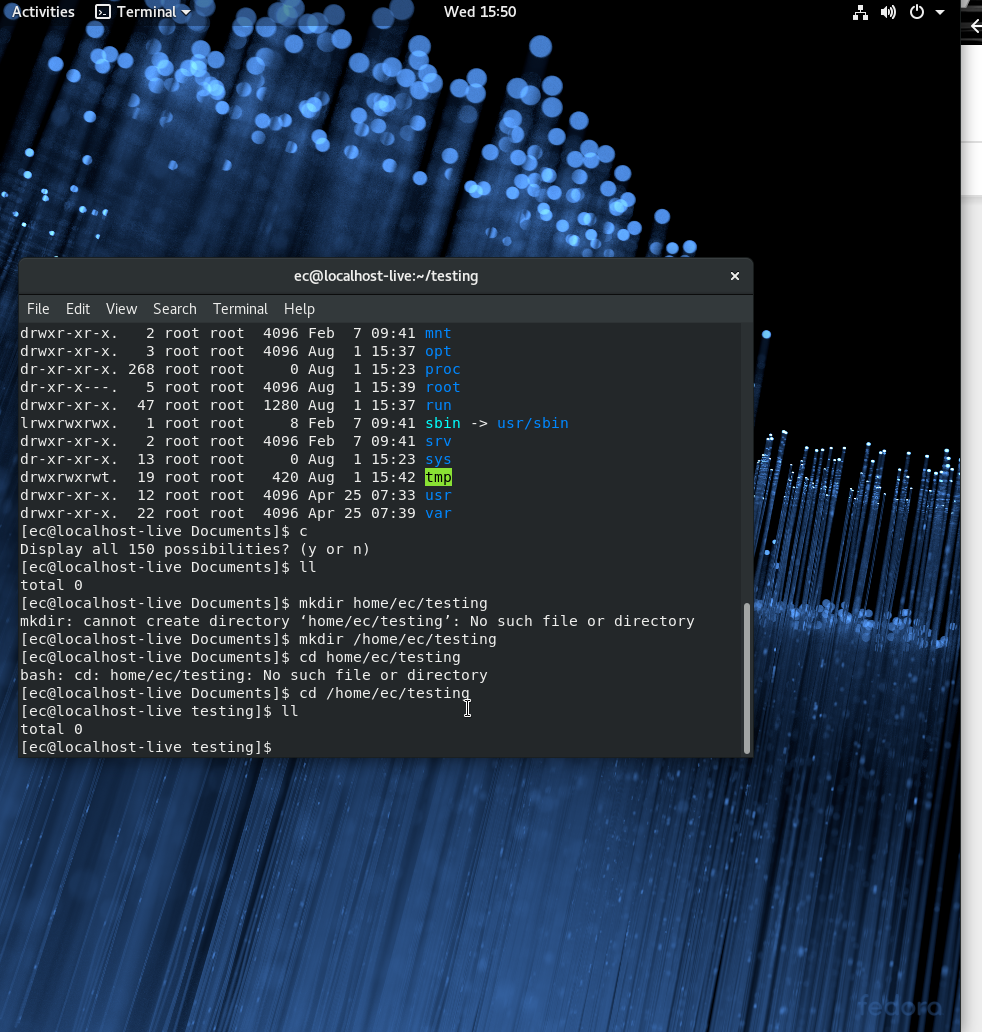
The location of this directory would normally be found within a sites root directory if you are working on it locally, but for this tester challenge we can simply place it in the following directory for now. Run the following command by replacing the the your user name part with your actual username on the fedora installation: mkdir /home/[YOUR_USERNAME]/testing and hit enter.
Then in the terminal again, type cd /home/[Your_USERNAME]/testing and hit enter. If everything worked then no messages will appear. In the image below you can also see I used the command "ll" just to show that I am in the right directory with no current files.
It is worth opening this page in the actual virtual machine so that you can copy and paste some of the below:
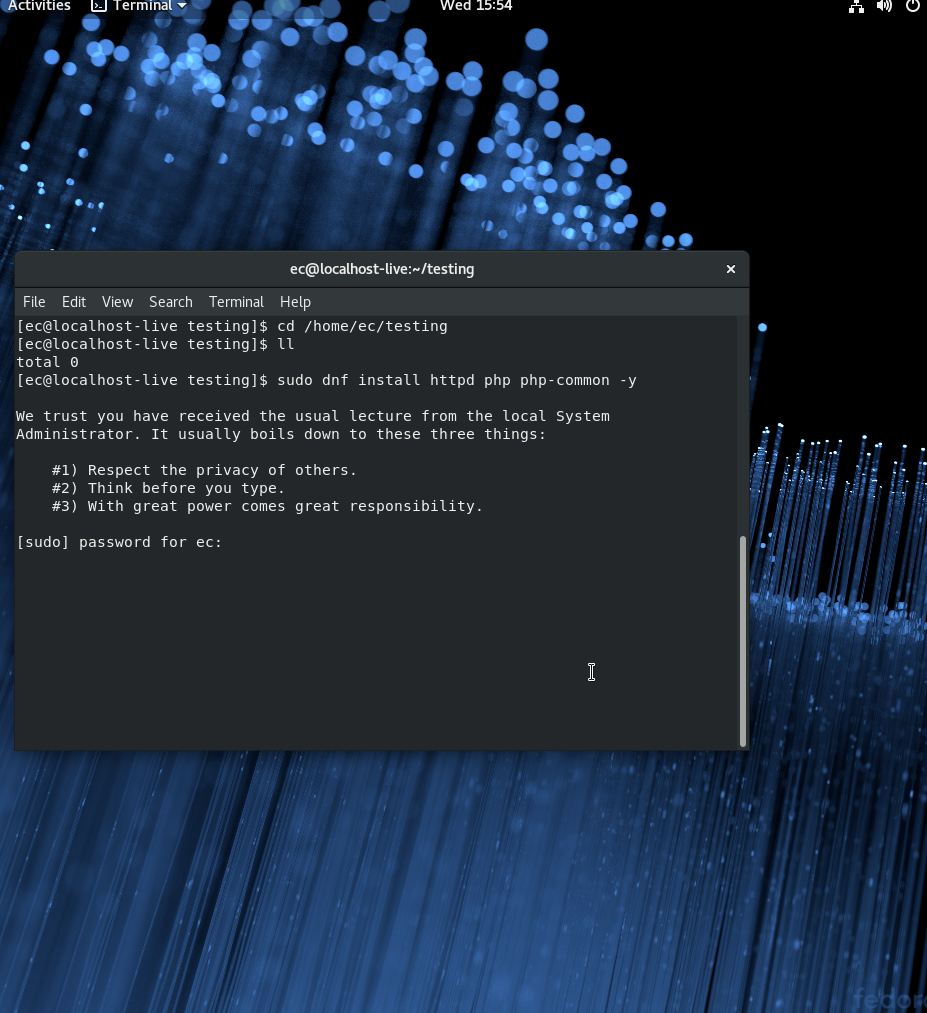
First we need to install PHP by copying the below command into the terminal and hitting enter:
install php with the following command: sudo dnf install httpd php php-common -y
Don't be alarmed by the password prompt. Simply enter the password you set for your user and press enter.
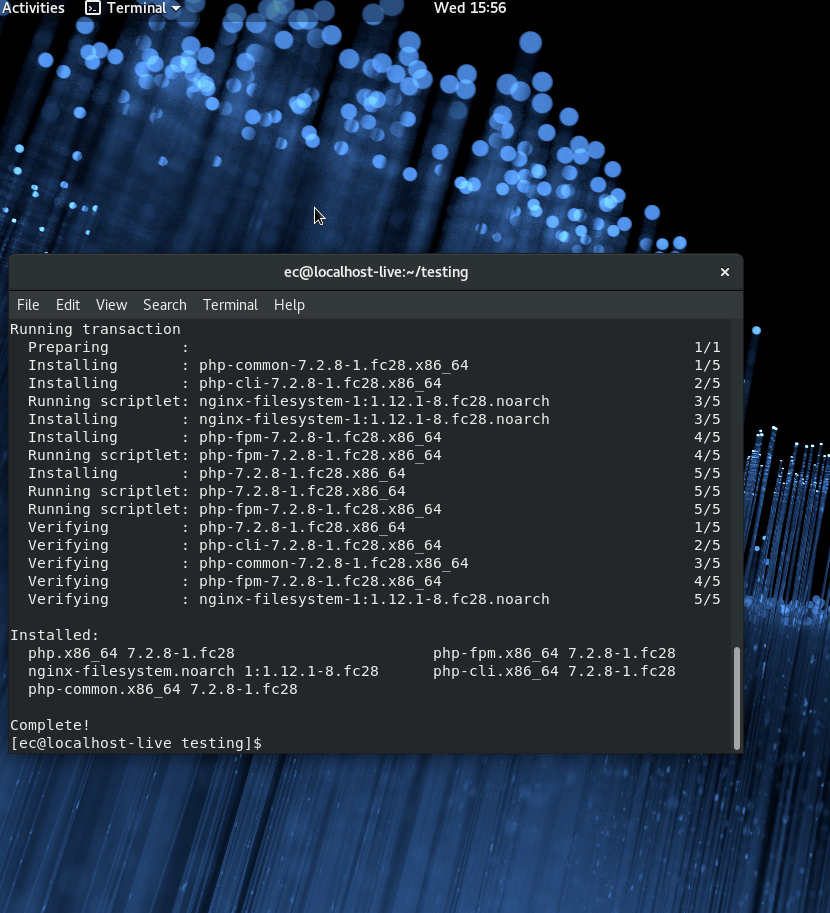
You will then begin to see the installation happen on the screen like so:
Now we need Java:
install Java with the following command: sudo yum install java-1.8.0-openjdk -y
Once we have done that we create composer.json file in the testing folder: You can use vi, vim or nano if you know of these, otherwise copy and paste the following for now using nano. The following command should tell you the command cannot be found but then prompt you to install it. Simply type "y" then hit enter for every prompt that appears until the installation is finished. Then repeat the command if it doesn't do anything after that.
command: nano composer.json
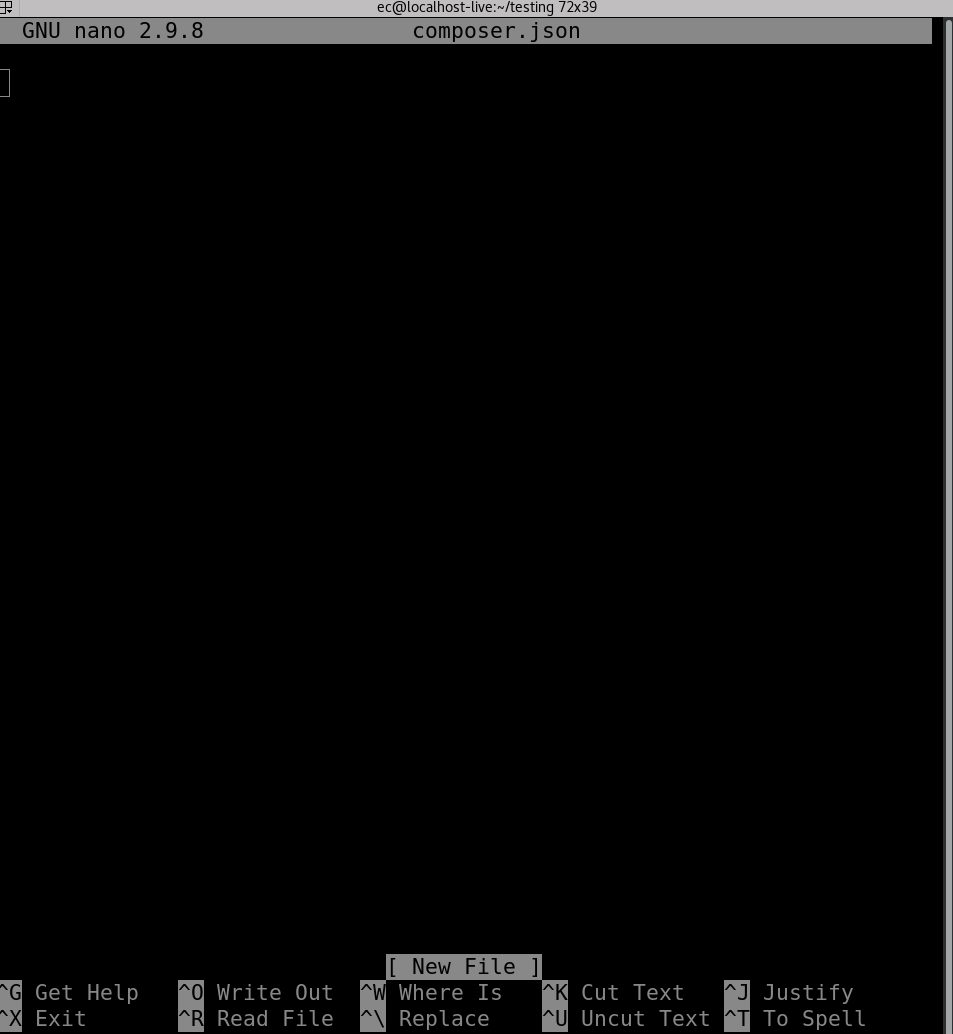
The terminal should then look like the following:
Now you can copy and paste the below with ease:
{
     "require": {
         "edmondscommerce/behat-framework": "dev-master",
         "edmondscommerce/behat-faker-context": "dev-master",
         "edmondscommerce/behat-chrome-performance-context": "dev-master",
         "edmondscommerce/behat-error-detection-context": "dev-master",
         "edmondscommerce/behat-screenshot-context": "dev-master",
         "edmondscommerce/behat-error-handling-context": "dev-master",
         "edmondscommerce/behat-html-context": "dev-master",
         "edmondscommerce/behat-javascript-context": "dev-master",
         "edmondscommerce/behat-mouse-context": "dev-master"
     },
     "config": {
         "bin-dir": "bin/"
     }
 }
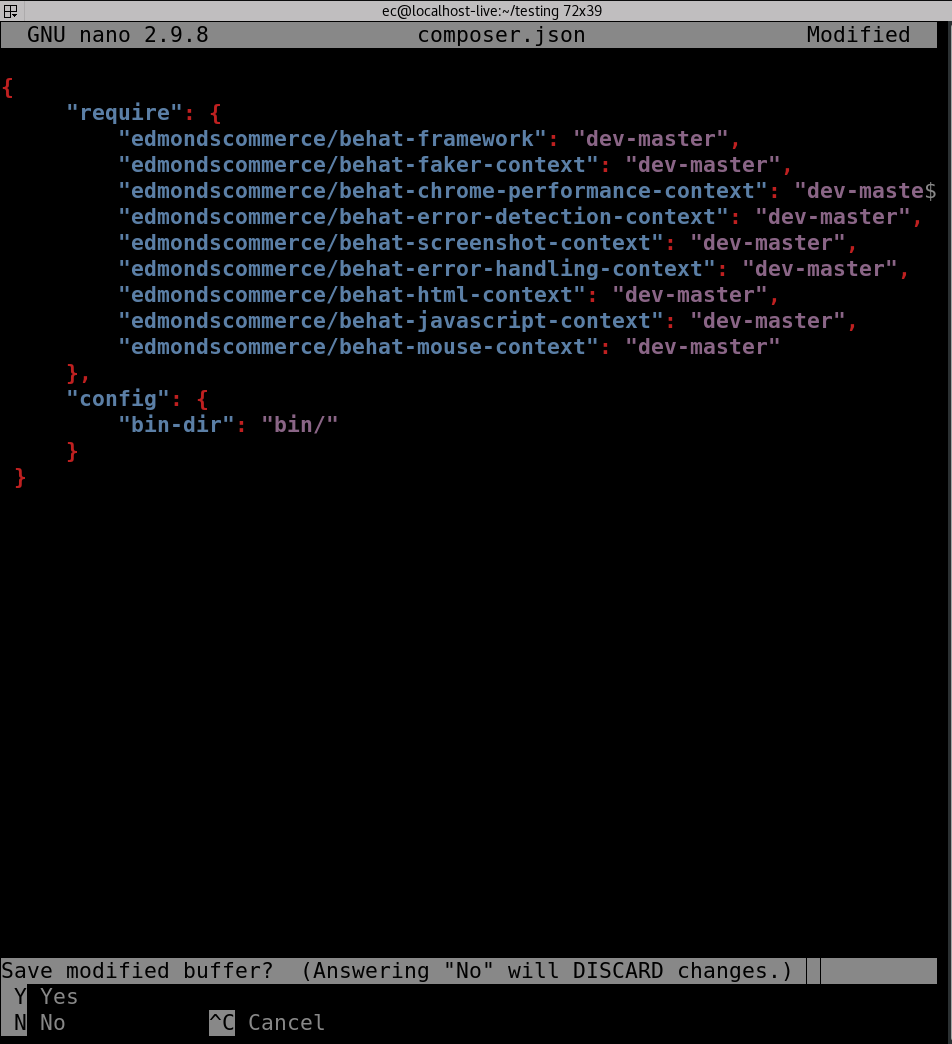
Hit "Y" for yes and then enter to accept the file name.
Now we need to install composer. Place the following command in the terminal: sudo dnf install composer -y
Then run the following command: composer install --prefer-source
Then do the following commands also. Make sure to include the full stop at the end of the first command:
`cp -R vendor/edmondscommerce/behat-framework/features . ``
cp vendor/edmondscommerce/behat-framework/behat.dist ./behat.yml
Then the Mink Goutte Driver will be needed:
Command: composer require behat/mink-goutte-driver
We then need to make sure selenium is running in the background. If this is not running, tests will not work:
Command: bash bin/selenium-background-run.bash
And then to set off the tests we do the following. This is just an example feature file to make sure everything is working correctly. There is a high chance some tests will fail and pass.
Command: php bin/behat -p chrome features/example/google.feature
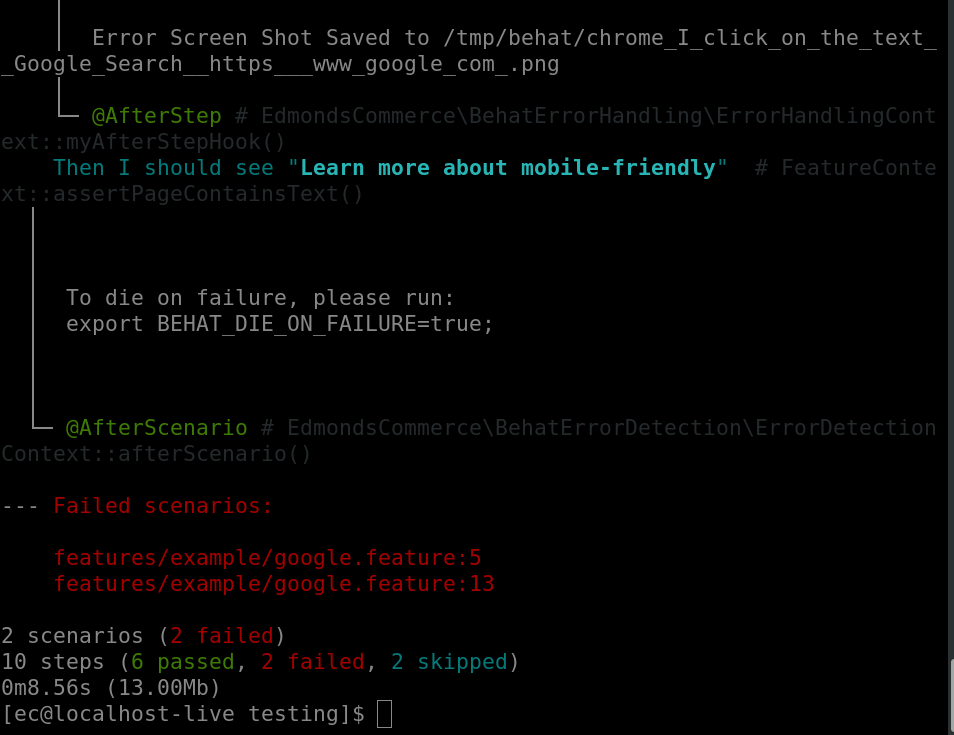
If chrome appeared and then automatically started doing things, we have everything set up. It is now best to make your own directory and your own feature file for your tests. When you use your own feature file, make sure to point the command in the right direction and that any files you make you put .feature at the end.
Editing the files
To keep things light and simple we are going to install Atom in order to open and edit files. This will be easier than using the terminal to edit them.
Run the following commands:
Change the username in this command to your username and run it.
cd /home/username/Downloads
Then
wget https://atom.io/download/rpm
followed by
sudo dnf install ./atom.x86_64.rpm
And then
atom