Bitbucket To Slack
The following page will walk you through how to integrate BitBucket into a Slack channel.
Start by heading over to the channel on Slack that you'd like these updates to come through in and invite the Bitbucket bot by doing @Bitbucket Cloud and clicking on "Invite Them".
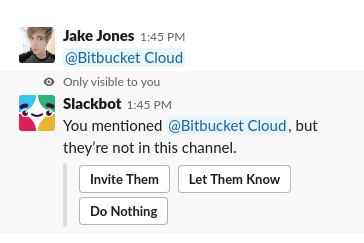
After clicking "Invite Them", you will see some example of updates in the chat log, along with the following:
"Please run /bitbucket connect <your-repository-url> command to connect your repository. You can connect as many repositories
as you need."
Now, we'll select which repo you would like to receive Slack notifications for.
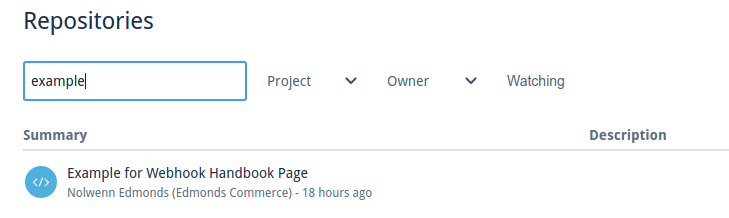
Click on the "Repositories" icon on the left hand side of the BitBucket Homepage (you may have to sign in first) to bring up the list of repos.
You can either search the list of repos shown, or use the search bar to find your specific repo.
For this example, I have made one called "Example for Webhook Handbook Page".
Clicking on the name of the repo will take you through to it.
Once inside the repo, copy the URL for this page, and paste it into the command you got earlier. Remember to remove the "< >" on each end of the URL as well.
It should look something like the following: /bitbucket connect https://bitbucket.org/edmondscommerce/example-for-webhook-handbook-page/src/master/
You'll then see another message asking you to link your Bitbucket Cloud account to your Slack account.
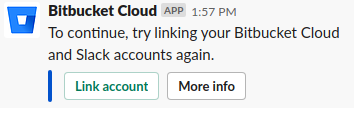
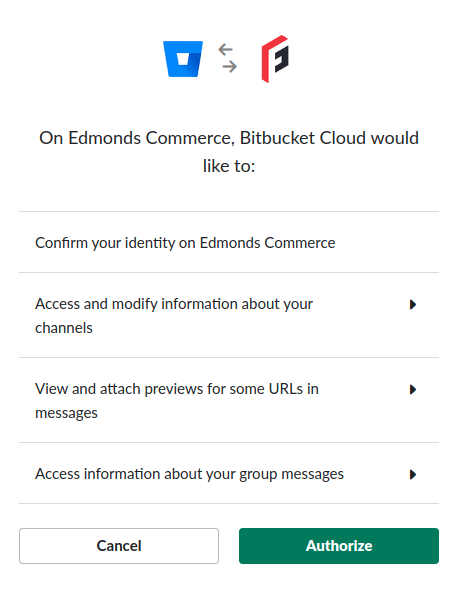
Clicking "Link Account" will open up a webpage asking you to authorize the link.
Click "Authorize" if you're happy to continue.
The webpage will then redirect to show that that was successful.
You'll also see a message come through in the Slack channel you've been working in confirming this as well.
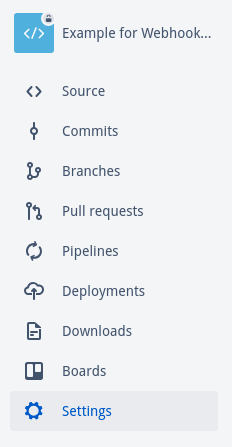
Now, head back to the repository we took the URL for and click on "Settings" on the left hand side of the page.
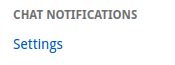
Scroll to the bottom of the page and click on "Settings" under "Chat Notifications".
This will take you to a page displaying your "Subscriptions" to different chat apps.
Click the blue "Add Subscription" button at the top of the screen.

This will bring up the following window, shown down below, where we will choose which channel we want these updates to come through in. Make sure that it is set to our "Edmonds Commerce" workspace and select the channel you'd like from the dropdown list.
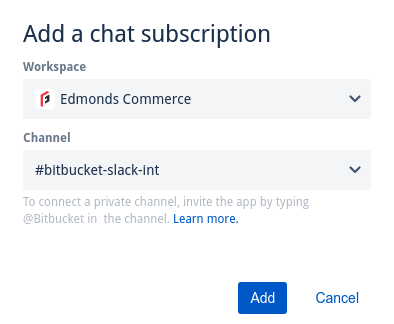
When ready, click "Add".
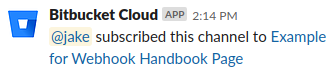
You will receive a notification in the Slack channel if that has been added successfully.
In Chrome, you will see a list of different notifications that will be sent through to the Slack channel, depending on what happens with the repo.
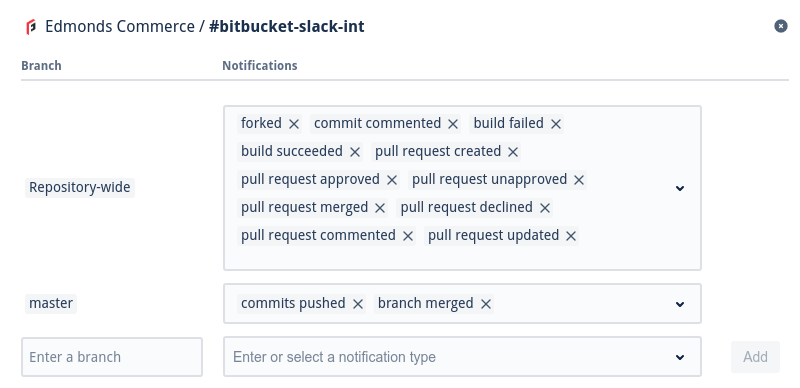
These should be left as they are, so all that's left to do now is check that these will display in the channel.
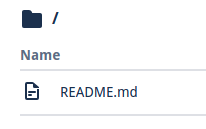
Headback to the main page of the repository by clicking "Source" on the left.
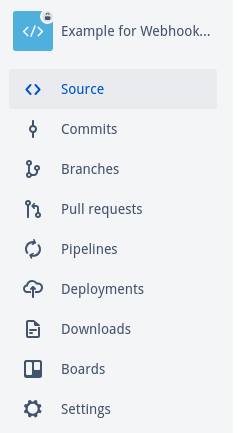
Now, click on any file that you're happy to edit in the repo. I've chosen the "README.md" file.
Now, click "Edit" on the right to begin editing the file.
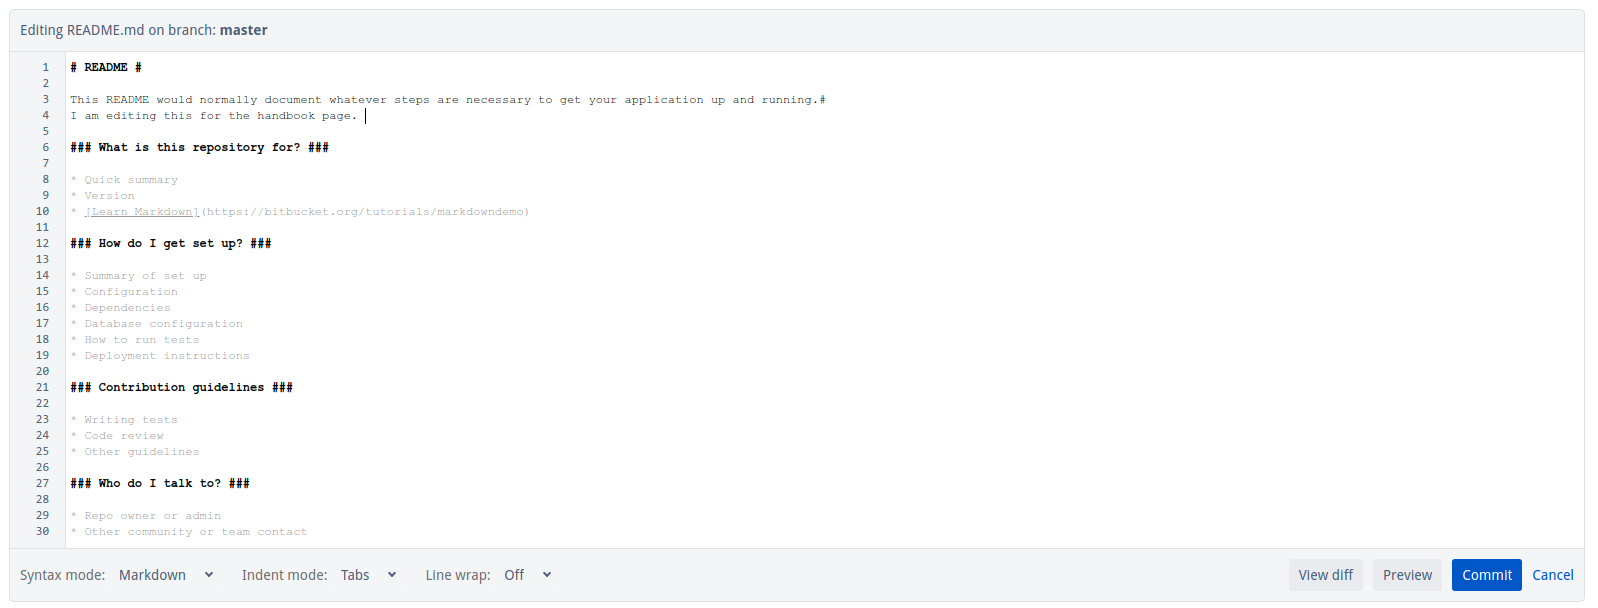
Alter the file by typing into the box and then click "Commit" in the bottom right.
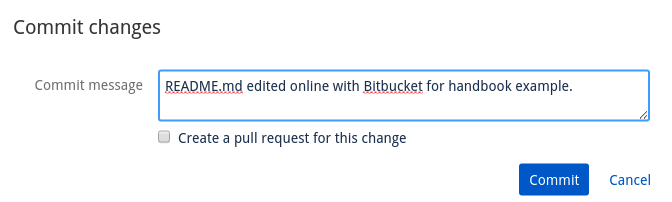
Before the commit goes through, you'll be asked to provide a commit message describing what you did.
Click on "Commit" when you're happy with your message.
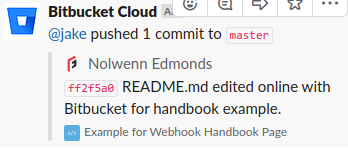
Now if we head over to the Slack channel, we can see that the integration has indeed worked and notifications for the repo are coming through to Slack.
This also works when working with the repo in the terminal. This isn't exclusive to doing this on the website.