Granting Access To A Specific Project
To assist with client work, we sometimes have someone from a third party company come on board to help out with certain tasks. To be able to work on them, they typically need access to Jira, but given that they are an external contact, we or the client may be hesitant to share other information that is stored in the other projects. To eliminate the threat of a security breach, we only want to grant them access to the main work project, such as the Magento one.
We do this through Jira User Groups and Permission Schemes for projects.
The default groups: "jira-administators" and "jira-software-users" both have permissions that grant access to all projects. To avoid this, we create 2 new groups to specify who is an "Internal" user and who is an "External" user. The "External" users will only have access to the specific project they require for the work, where as the "Internal" users will have the permissions to act as a user with full access.
Creating New User Groups
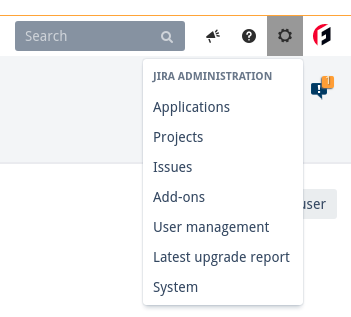
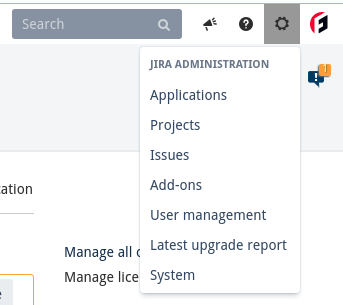
To start with, on Jira, click on the cog button in the top right hand side of the window and click on "User Management".
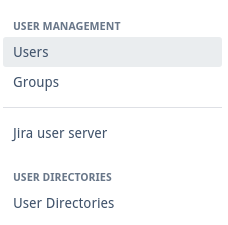
On the left hand side of the screen, click on "Groups".
Once that page has loaded, we can create a new group by typing the name of it in the text box under "Add Group" and then clicking on the button "Add Group". Start off by adding the "Internal" group, and then add the "External" group.


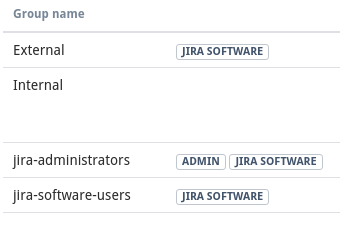
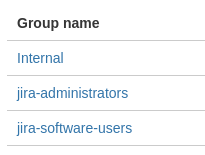
These groups will now be listed on this page.
Assigning Application Access To A Group
We now need to give application access to the "External" group. Seeing as we're not assigning the "jira-administrators" or "jira-software-users" groups to the third party user, they will be unable to log in without granting them access through their group.
From the group page, click on the "Applications" tab in the top left hand side of the screen.

You can also access the "Applications" page from clicking on the cog again and clicking on "Applications".
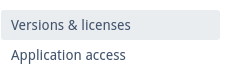
Head to the left hand side of the page again and click on "Application Access".
You will now see a list of groups ("jira-administrators" and "jira-software-users" by default) under "Jira Software". To add the "External" group, type the name of it in the text box under the list and click on the group when it appears in the drop down menu.
You can now see that the "External" group is in the list, meaning that whoever is assigned to this group will be able to log in.

Assigning A User To A Group
With these in place, we can now start assigning the users that have access to this Jira to their respective groups out of the 2 new ones we've created. Start by adding all of the users that are permitted full access to the "Internal" group.
Head back to the "User Management" page and click on the name of the first user you'd like to add to this group. Doing so will take you through to their account information.

Once you're on that page, click on the "Manage Groups" button on the right hand side of the screen.

A pop-up will appear which will allow you to add the user to a specific group or revoke their access to that group. We want to add Jake to the internal group, so type "Internal" into the text box, click on the group that appears in the drop down and hit "Join selected groups".
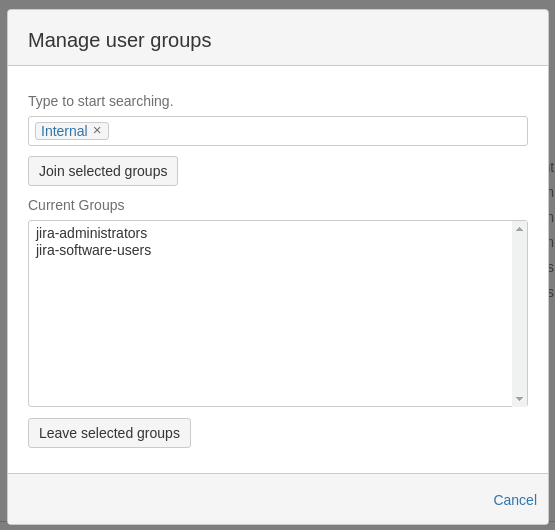
You will now see that they have been added to this group via the group list at the bottom of the page.
Repeat this step for all of the users apart from the new third party one. Once all of those users are added to the "Internal" group, go ahead and add the third party account to the "External" group.
After adding them to the group, make sure you remove all other groups associated with this account by clicking on the "Manage groups" button, clicking on the 2 jira groups in the pop-up window and clicking on "Leave selected groups".
Assigning Permissions To A Group
Now that each user has their own "Internal" and "External" groups respectively, we can now start assigning permissions to them.
Click on the cog symbol in the top right again and click on "Issues". Then, on the left hand side, click on "Permission Schemes" the the bottom of the page.

You'll then see a list of permissions schemes. On the right hand side next to "Default software scheme", click on the "Permissions" link.
This permission scheme grants unrestricted access to everything minus some administrative rights to all logged in users. We want to change this so that it's only granted to the "Internal" group.
To do this, we need to go through all of the permissions and remove the "Any logged in user" application access rule and replace it with "Internal". Find the first one that has this rule and click on "Edit" to the right of it.
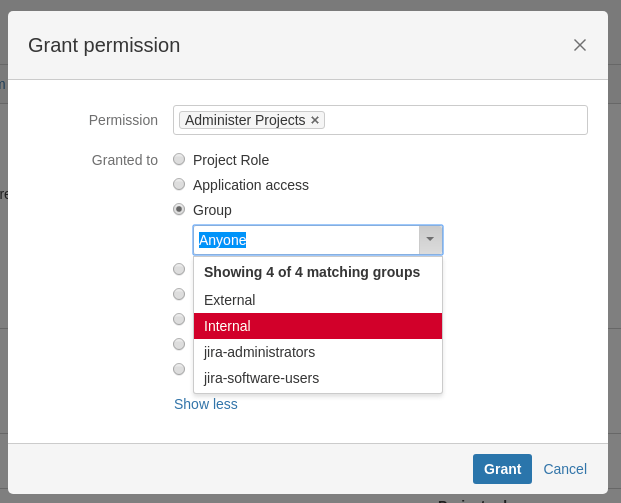
In the "Grant Permission" pop-up, clicking on "Group" will open a drop down menu where we can select the group we want. Make sure you select "Internal" and then hit "Grant".
Now, in the same permission, click on "Remove". Another pop-up will appear called "Remove permissions" with the 2 rules displayed. Click on the check box next to "Application Access - Any logged in user" and then click on "Remove" at the bottom.
Repeat these steps for all the permissions that are granted to "Any logged in user".

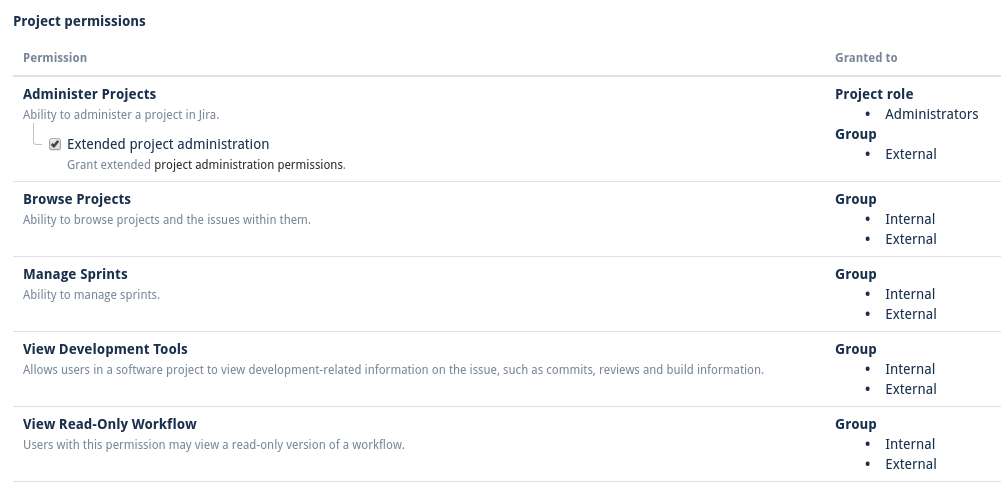
Head back to the permission schemes page where we saw the default permission schemes and copy the "Default software scheme". Now click on "Edit" to edit the permissions and add the "External" and the "Internal" groups to each permission, as well as removing the "Any logged in user" group. When you're done, the permissions list should look like the image down below.
Assigning Permission schemes
Now that that's done, we now want to make sure that the permission scheme that grants access to both the "Internal" and "External" group is assigned to the "Magento" project. Click on the cog icon again, click on "System" from the drop down menu, then the "Projects" tab in the top left and then click on the "Magento" project.
If you scroll down the page and look on the left hand side, you'll see the permissions section of the settings for this project. Click on the "Default software scheme" link to open up the permissions.
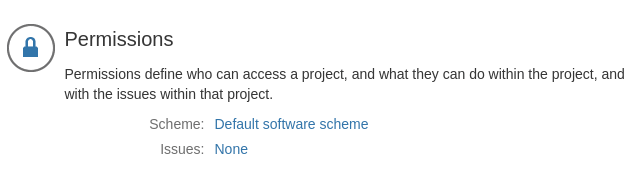
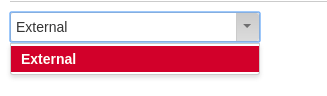
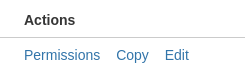
In the top right hand side of this page, click on the "Actions" button and select "Use a different scheme".
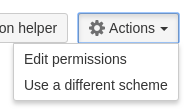
From the drop down menu you can see in the image above, make sure you select the "copy of Default software scheme" scheme and click associate.

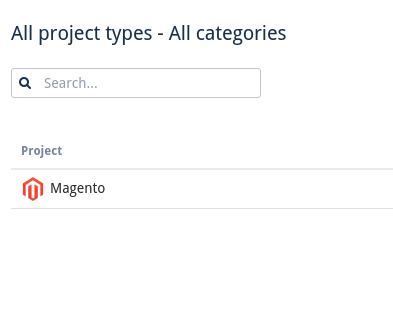
Now, to test this, either assign the external group to a current user or log in with the third party account if possible. The account in question should only see the one project when browsing through projects.