This will cover how to create your own custom issue types and scheme, this will also show you how to apply it as the default issue scheme for a project
Creating new issue types and schemes (Step-by-Step Guide)
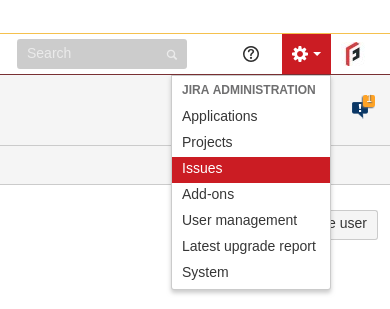
First navigate to the top right of the page and you should see a little ⚙ icon, click it. You should now see a list of new options, you will need to select Issues.
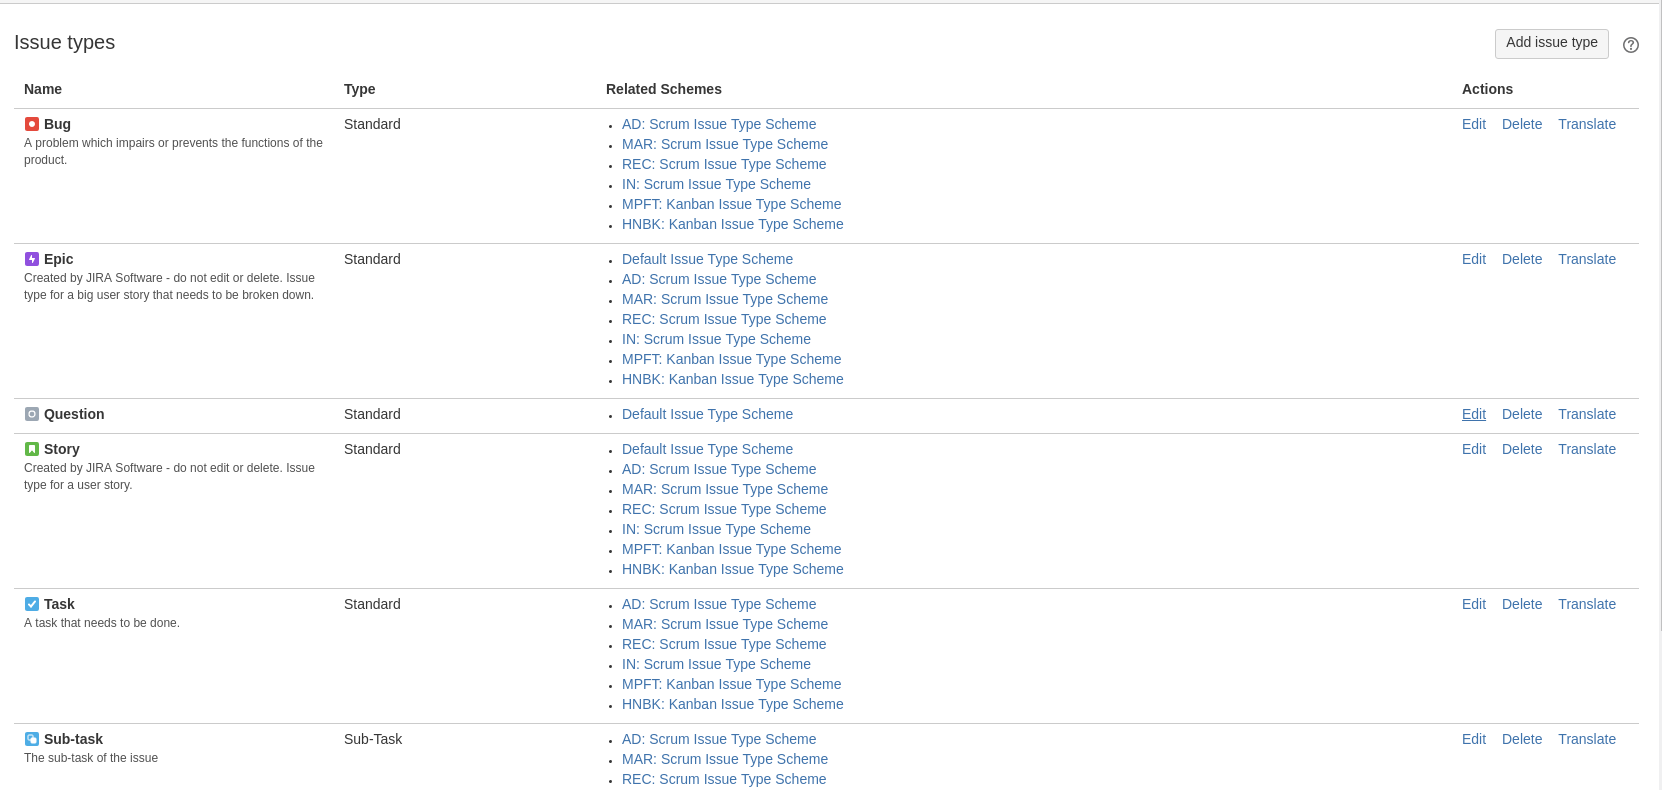
Next you should be on the following page that shows a list of current issue types.
What you will need to do now is simple click on Add issue type and you should be able to fill in the information below.

After pressing Add, you should now be back to the list of issue types with the addition of the one you just created.
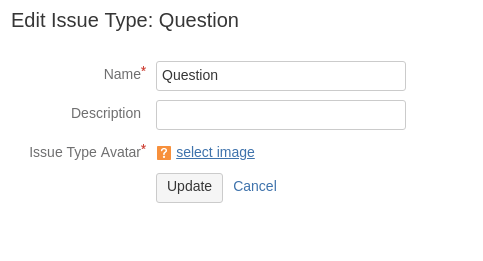
Now click Edit for the new issue type.
This is to just simply change the image with something that matched the issue type
Then click Update
After pressing Update, you should be back at the list of issues
Now you will need to create the new scheme which can be done by navigating to the left of the screen and clicking on Issue type scheme

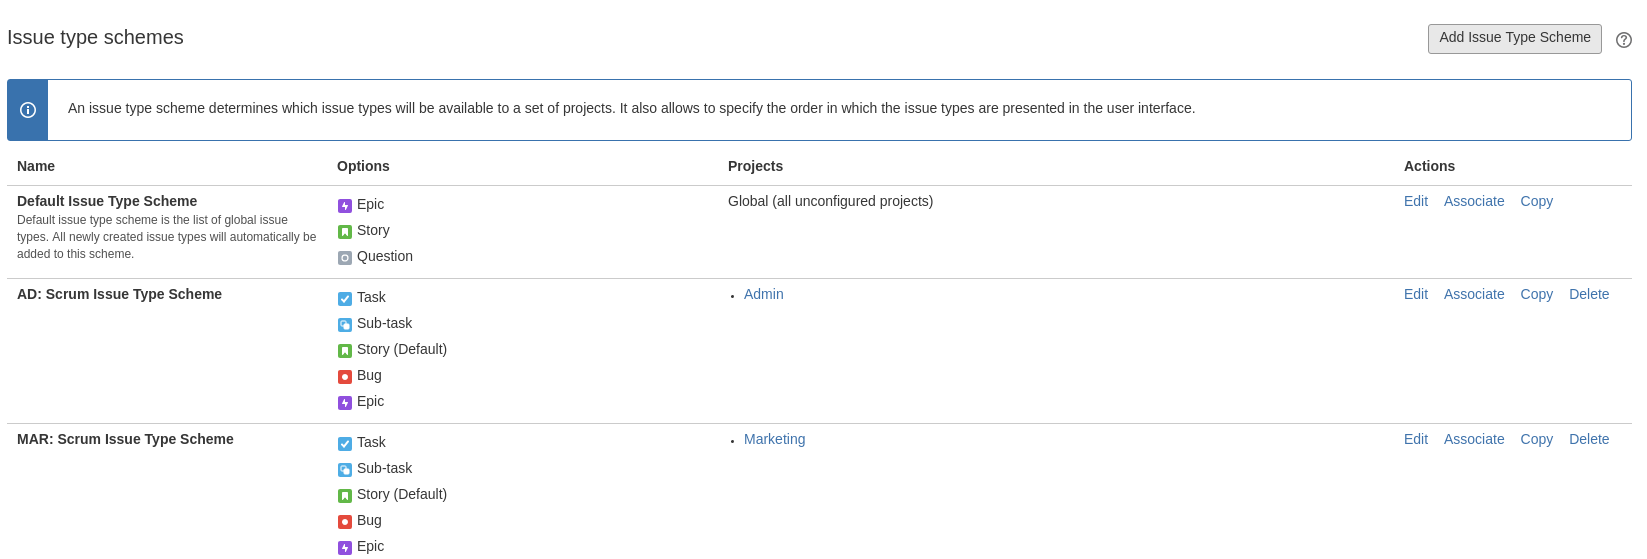
You should now see a list of already existing schemes.
Click Add Issue Type Scheme at the top right of the page.
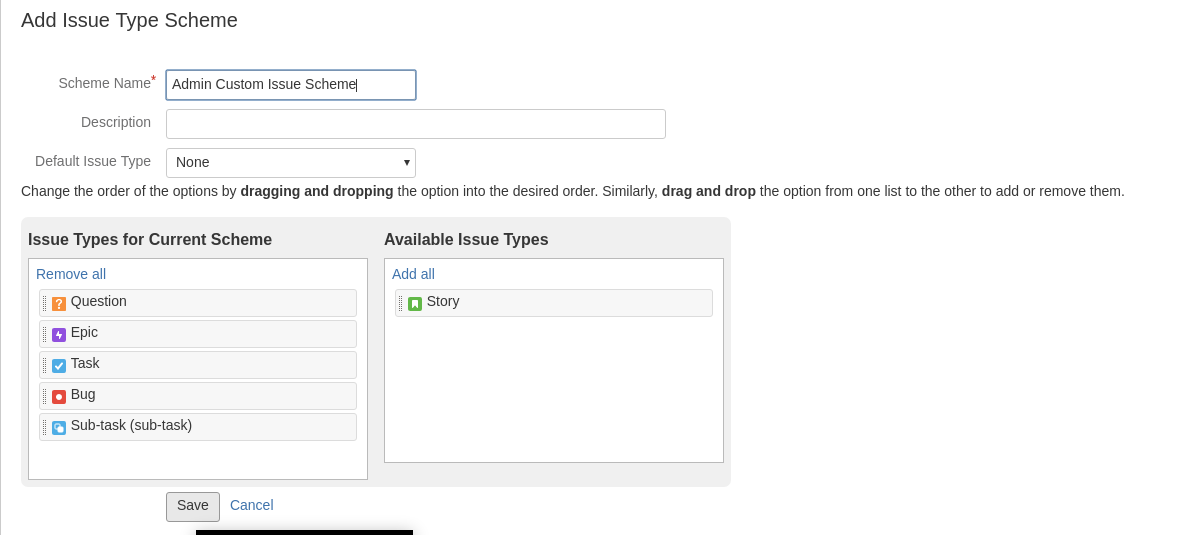
You should now be able to name the scheme and also drag over the types that you would like to be available for use.
Once done press Save
After pressing Save, you should now see your new scheme in the list of existing ones.
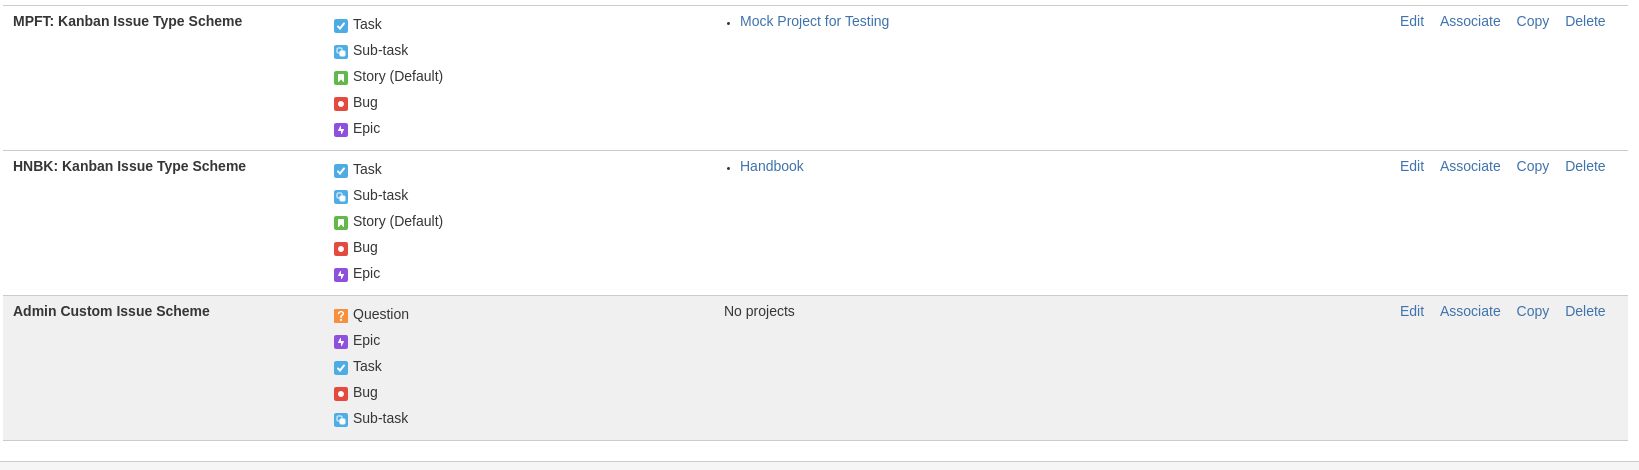
To apply it to a project, you will need to click on Associate on the right of the page.
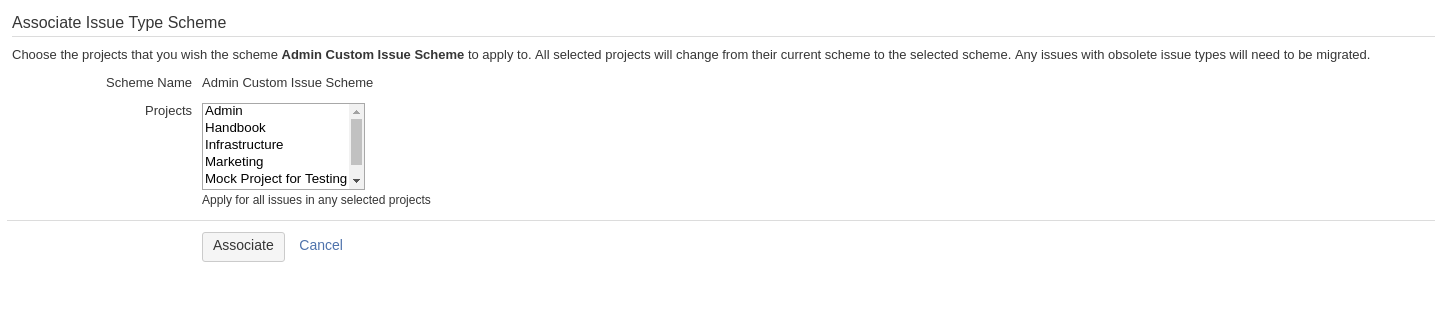
This will take you to the following screen, simply pick the projects you want and then hit Associate
You should now have successfully made a new issue type and scheme!