Projects
This page is to give you an overview of the projects that we create and have in place as a minimum. If there is a need for any new and custom projects then feel free to add accordingly.
To help you with that process, you will find instructions on creating a new project at the bottom of this page.
Below you can see a list of the projects we currently have for each client and what the purpose of each one is.
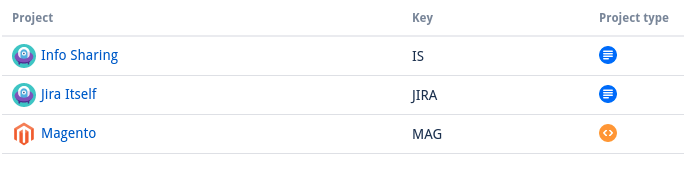
Info sharing
Used to share private details e.g. server details, magento admin details.
Tickets created within this Project are intended to be a secure place to store these details. Unlike other projects, no emails or slack notifications are sent to indicate updates to these tasks.
Infrastructure
For tickets relating to your servers or hosting environment, rather than your site's code itself
Jira itself
Intended for marking up any changes we need to make to your Jira installation. This might include missing fields, new project types etc
Mag/Mag2
This project will be used for the clients website and will store all the tasks they would like to be looked into.
Creating a New Project
This section of the document will cover how you can make a new project in Jira. For adding the custom Workflow to a new project, please see the "Create Custom Workflow and Cancelled Status" section on the "New Jira Setup" page.
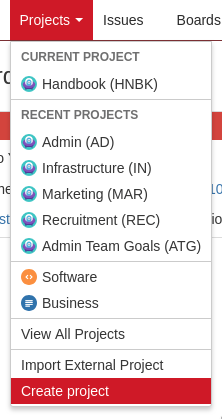
To create a fresh project, click on the "Projects" button at the top of the screen and click "Create New Project".
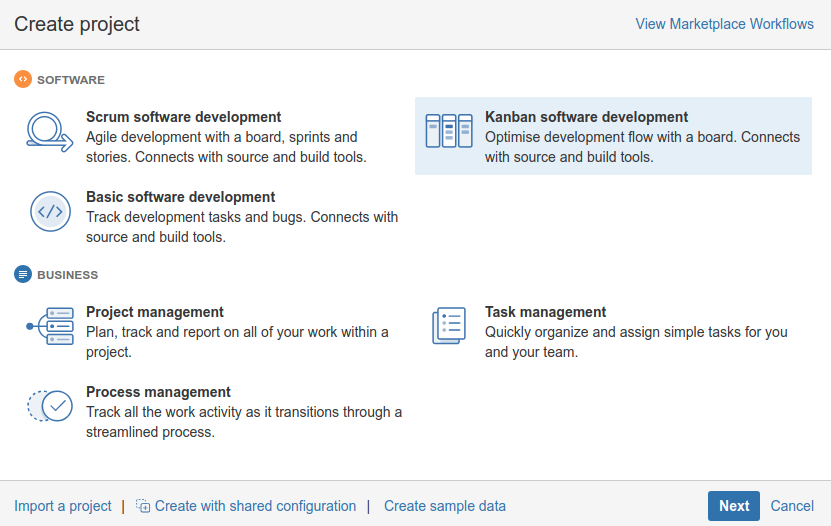
Next, you'll see a window displaying the different types of projects. Click on the project type you'd like.
-
For development related work, or a project that will be used to track progress for tasks, choose the "Kanban Software Development" option under "Software".

-
For anything else, choose the "Task Management" option under "Business"

When ready to proceed, click "Next" at the bottom of the window.
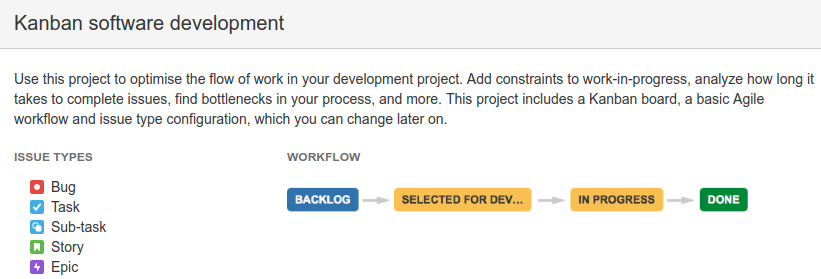
You'll then be shown the workflow that will be automatically assigned to this project.
-
Kanban Software Development Workflow:
-
Task Management Workflow:
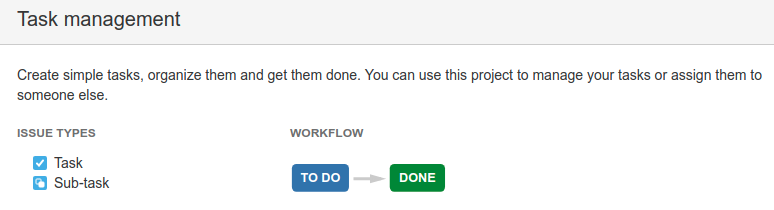
Note: for information on changing these workflows after the project is made, please see the link to the custom workflows page at the top of this section.
Click on "Select" when you're happy to proceed.
You'll then need to name the project, assign a key to it and select the project lead.
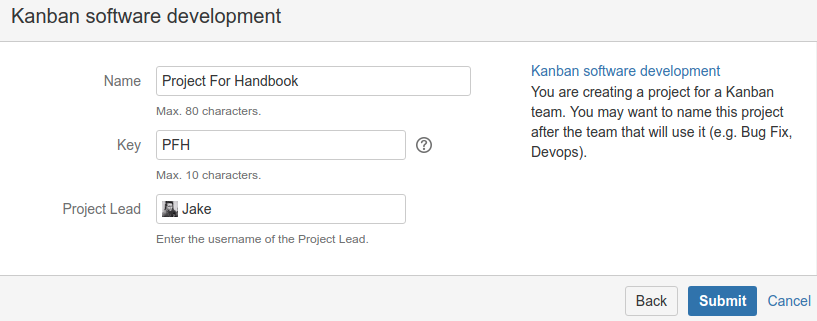
- Name: This should reflect what the project is used for.
- Key: An abbreviation of the name for quick reference.
- Project Lead: Who is leader of this project (Must already have an account on the Jira).
When ready, click "Submit".
You will then be taken to either one of the following pages:
- If you chose the Kanban project option, you will be directed to the projects Kanban Board.
- If you chose the business project option, you will be directed to the projects issue viewer.
Your project is now ready to use and you can go ahead and add tickets to your project!
Changing Project Lead
To change to lead of a project, navigate to the project in question. Either in the Issue Viewer or on the Kanban Board, click on the cogwheel icon in the bottom left to bring up the project settings.

When you've been directed to the project settings, you'll see "Users and Roles" on the left hand side of the screen.
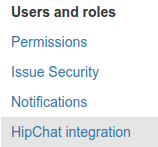
At the top of this page, you will see the default/current lead.
To the right of the screen, click on "Edit Defaults".
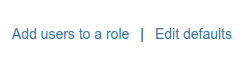
In the new popup, select "Project Lead" from the drop down menu.
In the box above this, type in the name of the user you would like to assign the lead to, and then click that option.
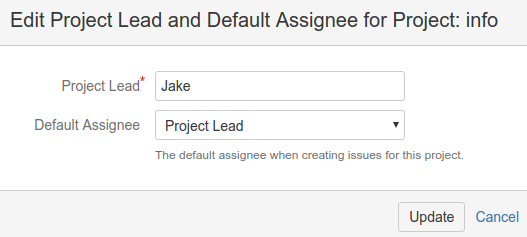
When ready, click "Update".
You will now be directed back to the page that shows you the current lead. As we can see, this has now changed to the user we selected.
