Workflows & Workflow Schemes
Worfklow Overview
Workflows add constraints for how tickets can transition between statuses. Our normal Workflow is as follows:
- Backlog: Tickets that have been created but are not authorised to be worked on
- Selected for Development: Tickets that the client has authorised to be worked on
- In Progress: Tickets on which work has been started
- Done: Tickets on which development has been completed (but not necessarily released)
- Closed: Tickets which have been abandoned
Managing Workflows
Creating a Workflow
This guide will show you how to create a new workflow and workflows scheme which will be used for all current and new projects created in Jira.
Find an existing workflow which has the status you need and copy it.

When you press copy, this will prompt you with a box asking you to rename the new workflow, use the following naming structure "Client-Name" Custom Workflow
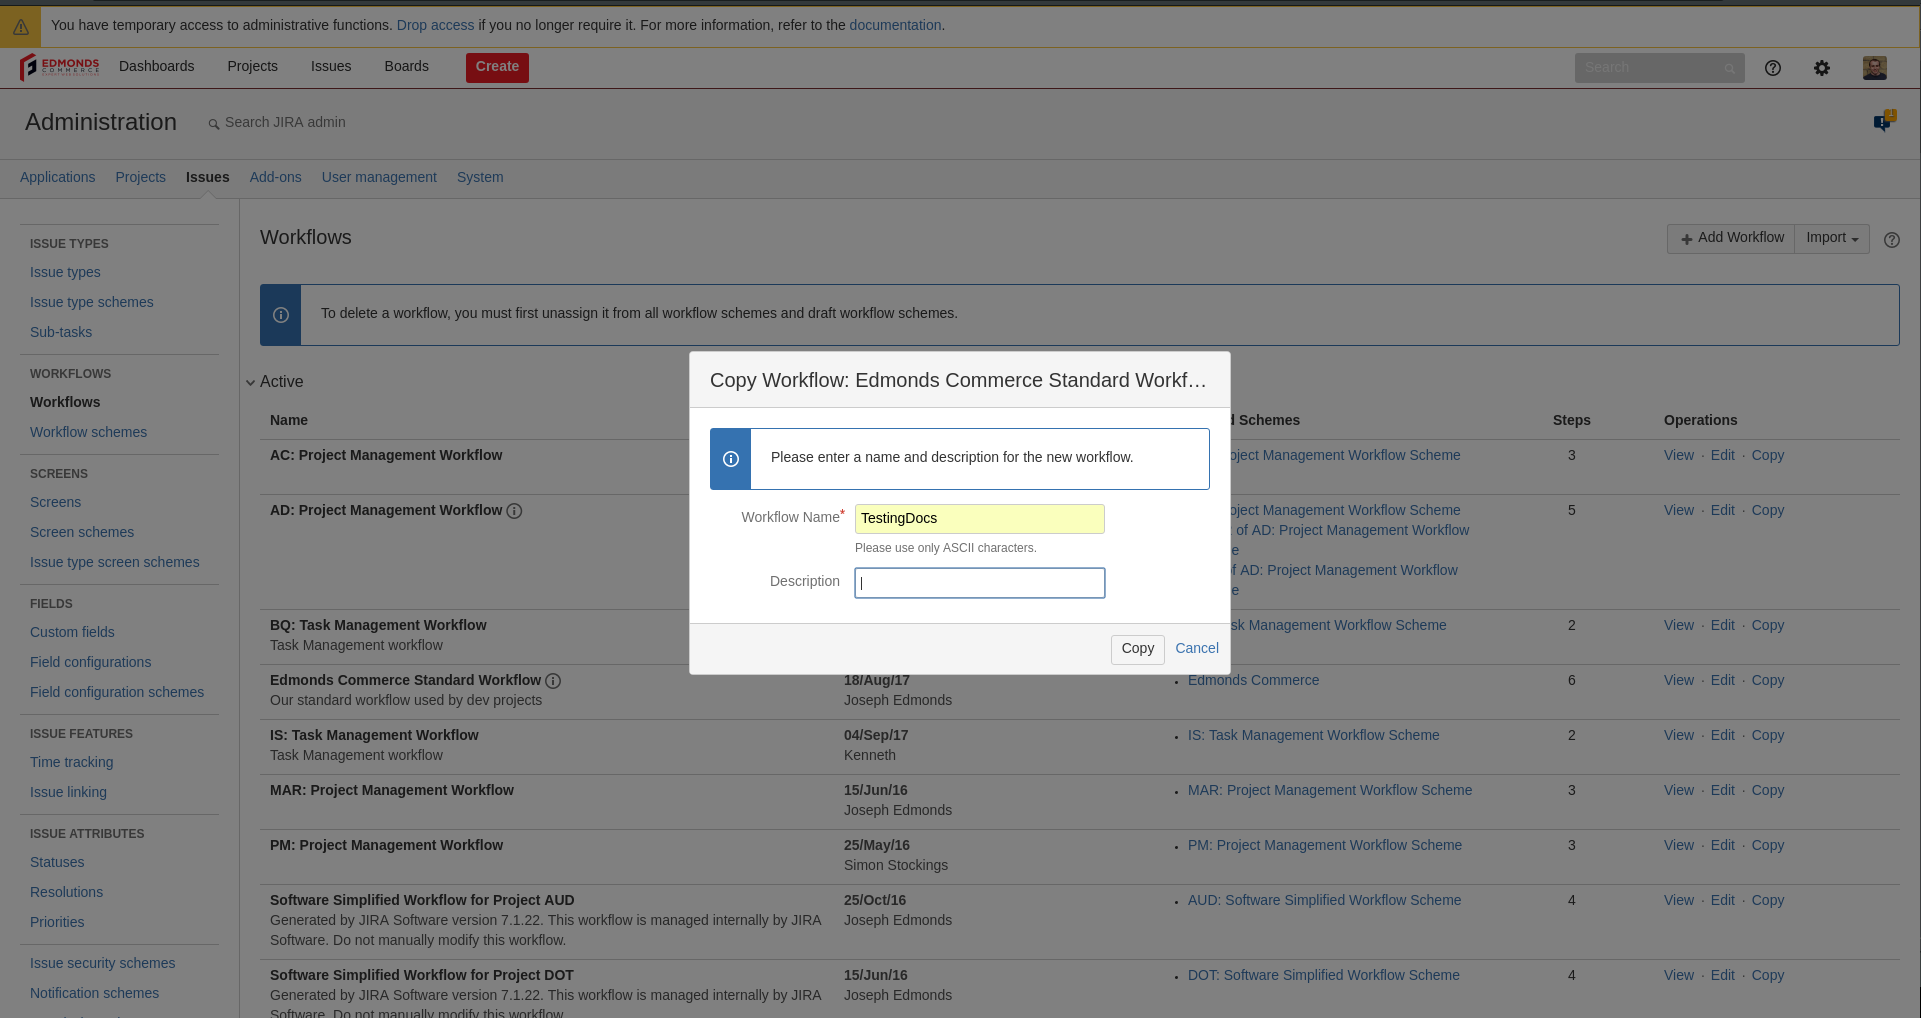
When you press copy again after naming, it will redirect you and show you a quick overview of what the current workflow looks like and how many status's already exist.
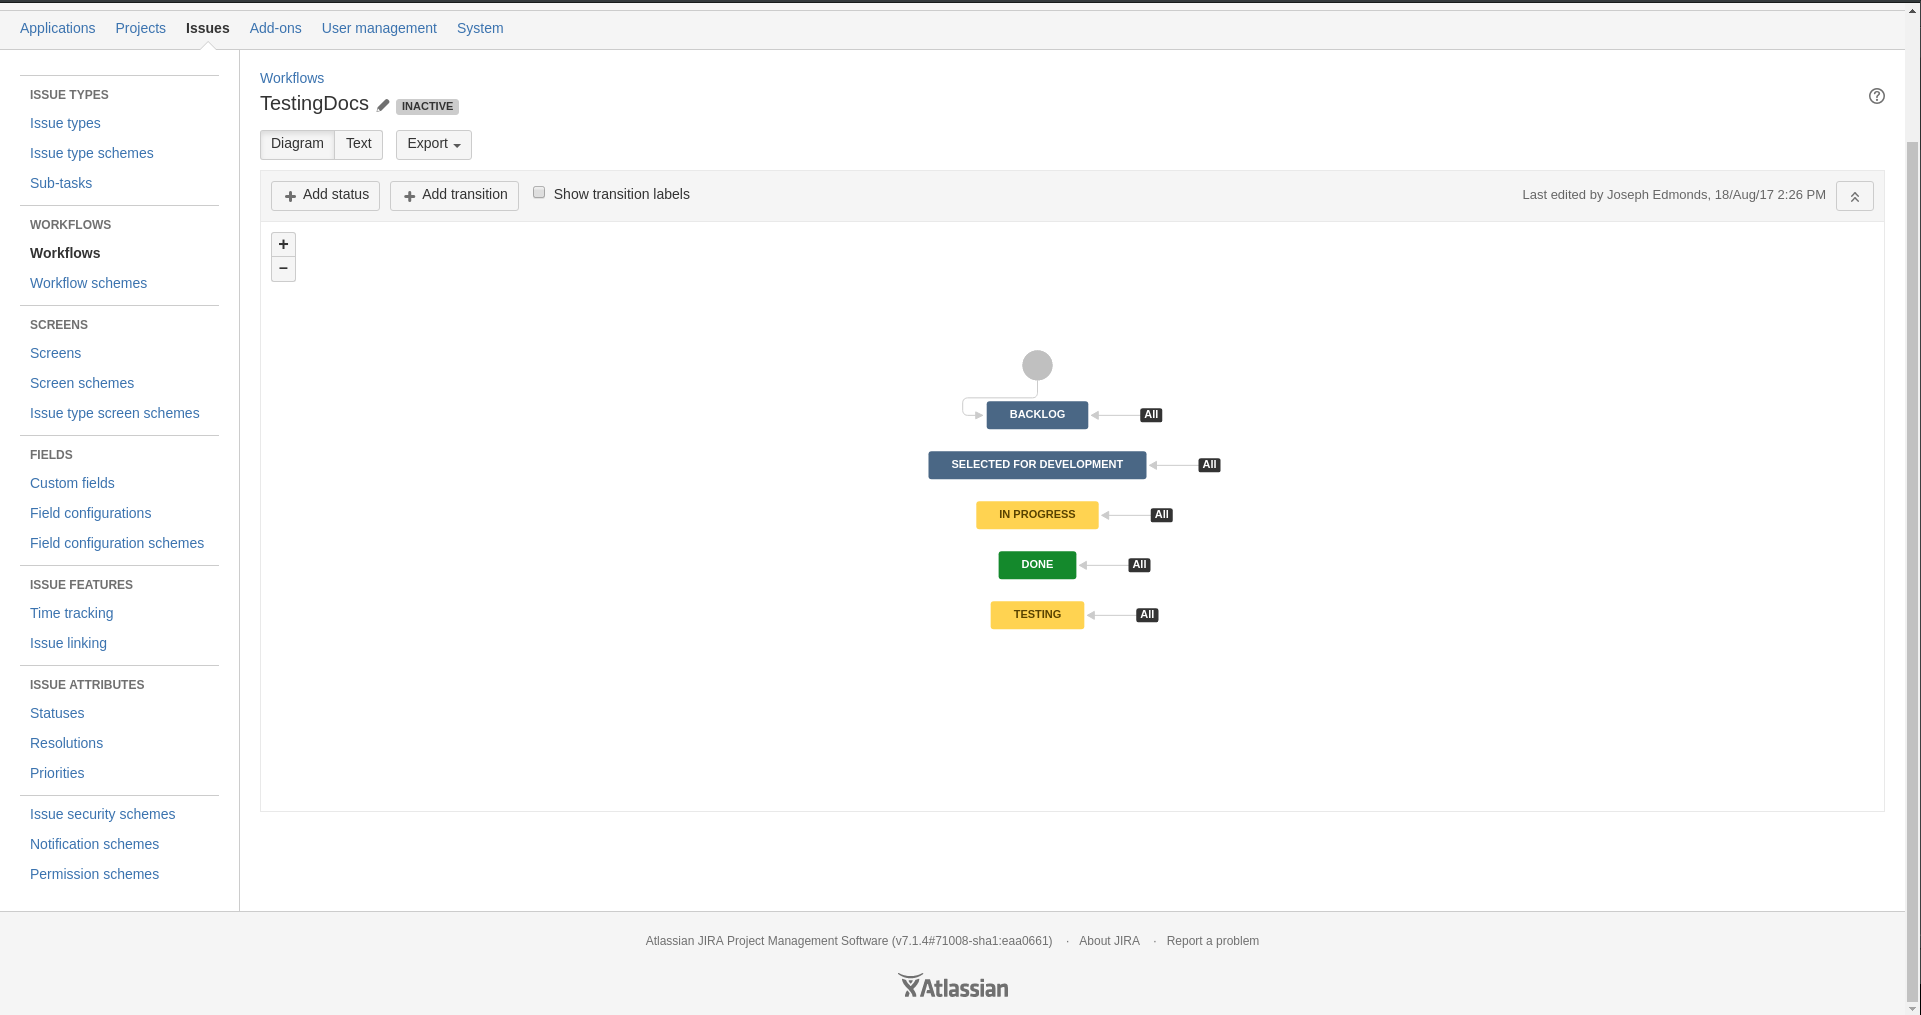
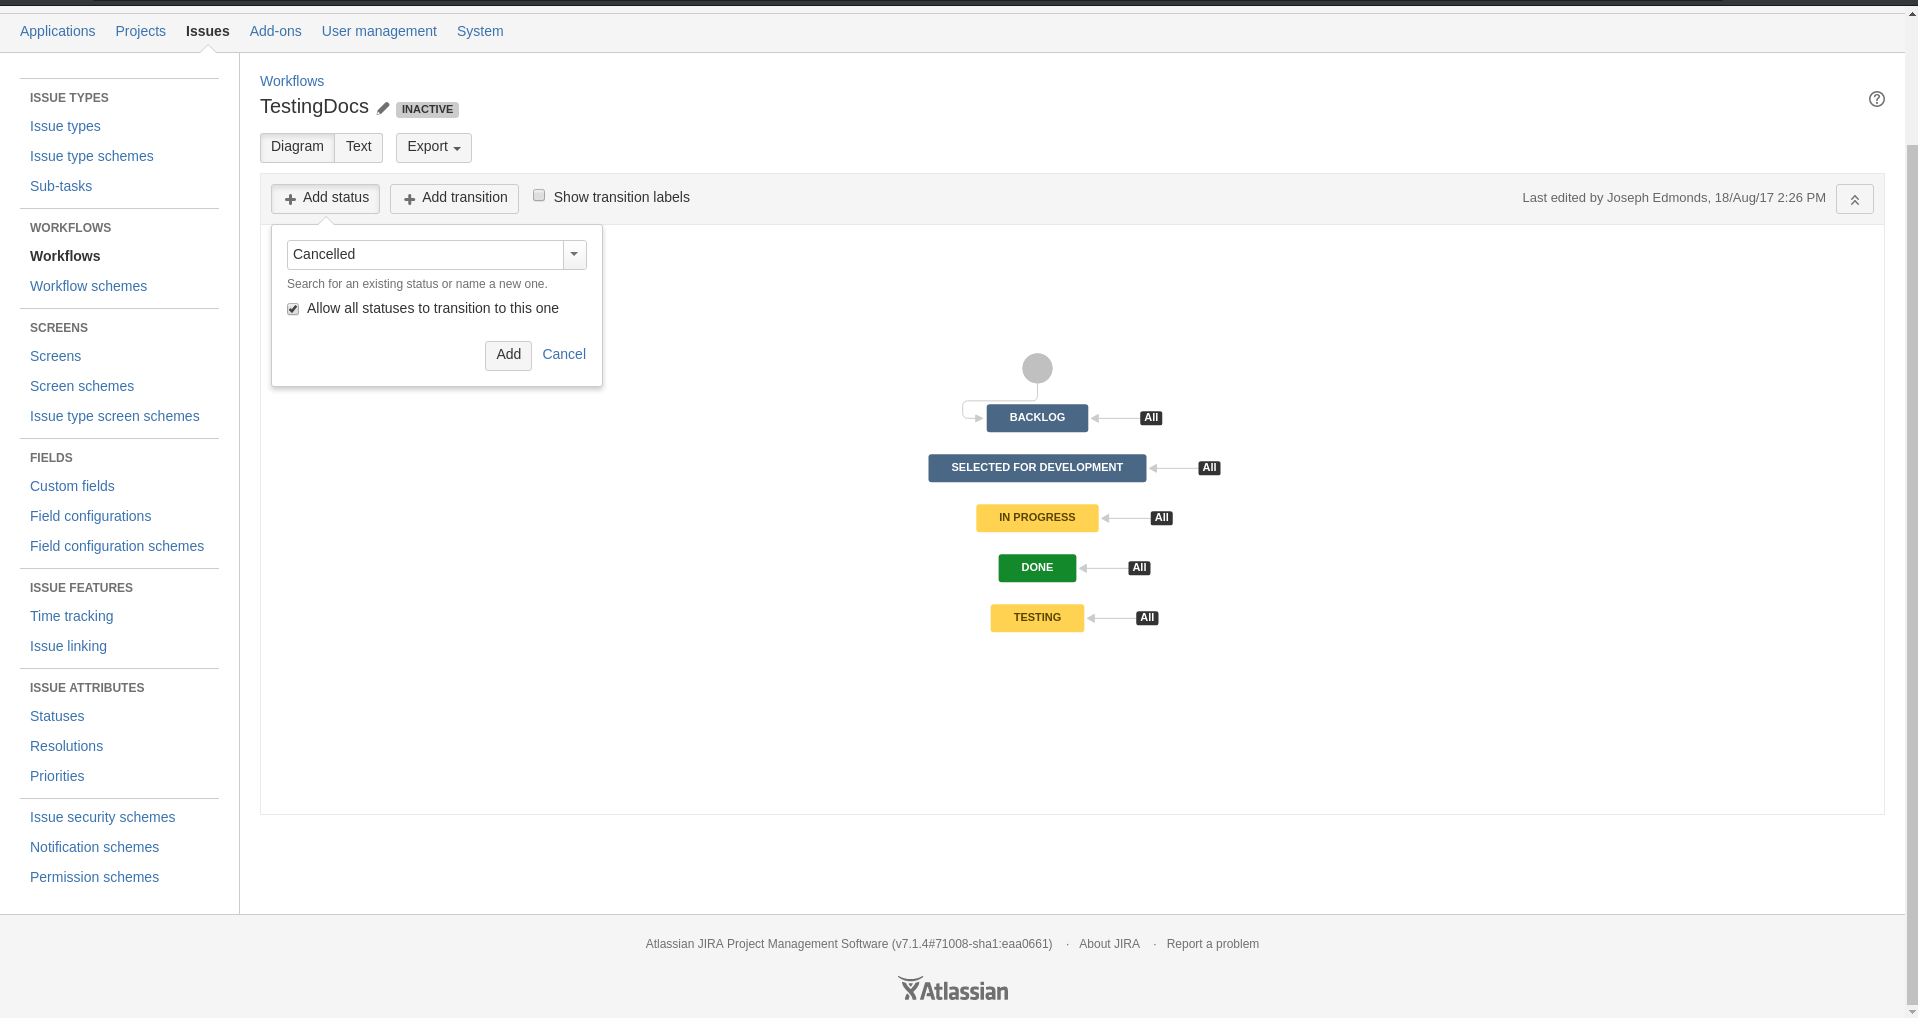
What you will need to do next is add in a custom status which for this example we are going to add in Cancelled. To do this you will need to press on the follow button + Add Status which is located underneath the title of the workflow.
Note
Make sure to select Allow all statuses to transistion to this one
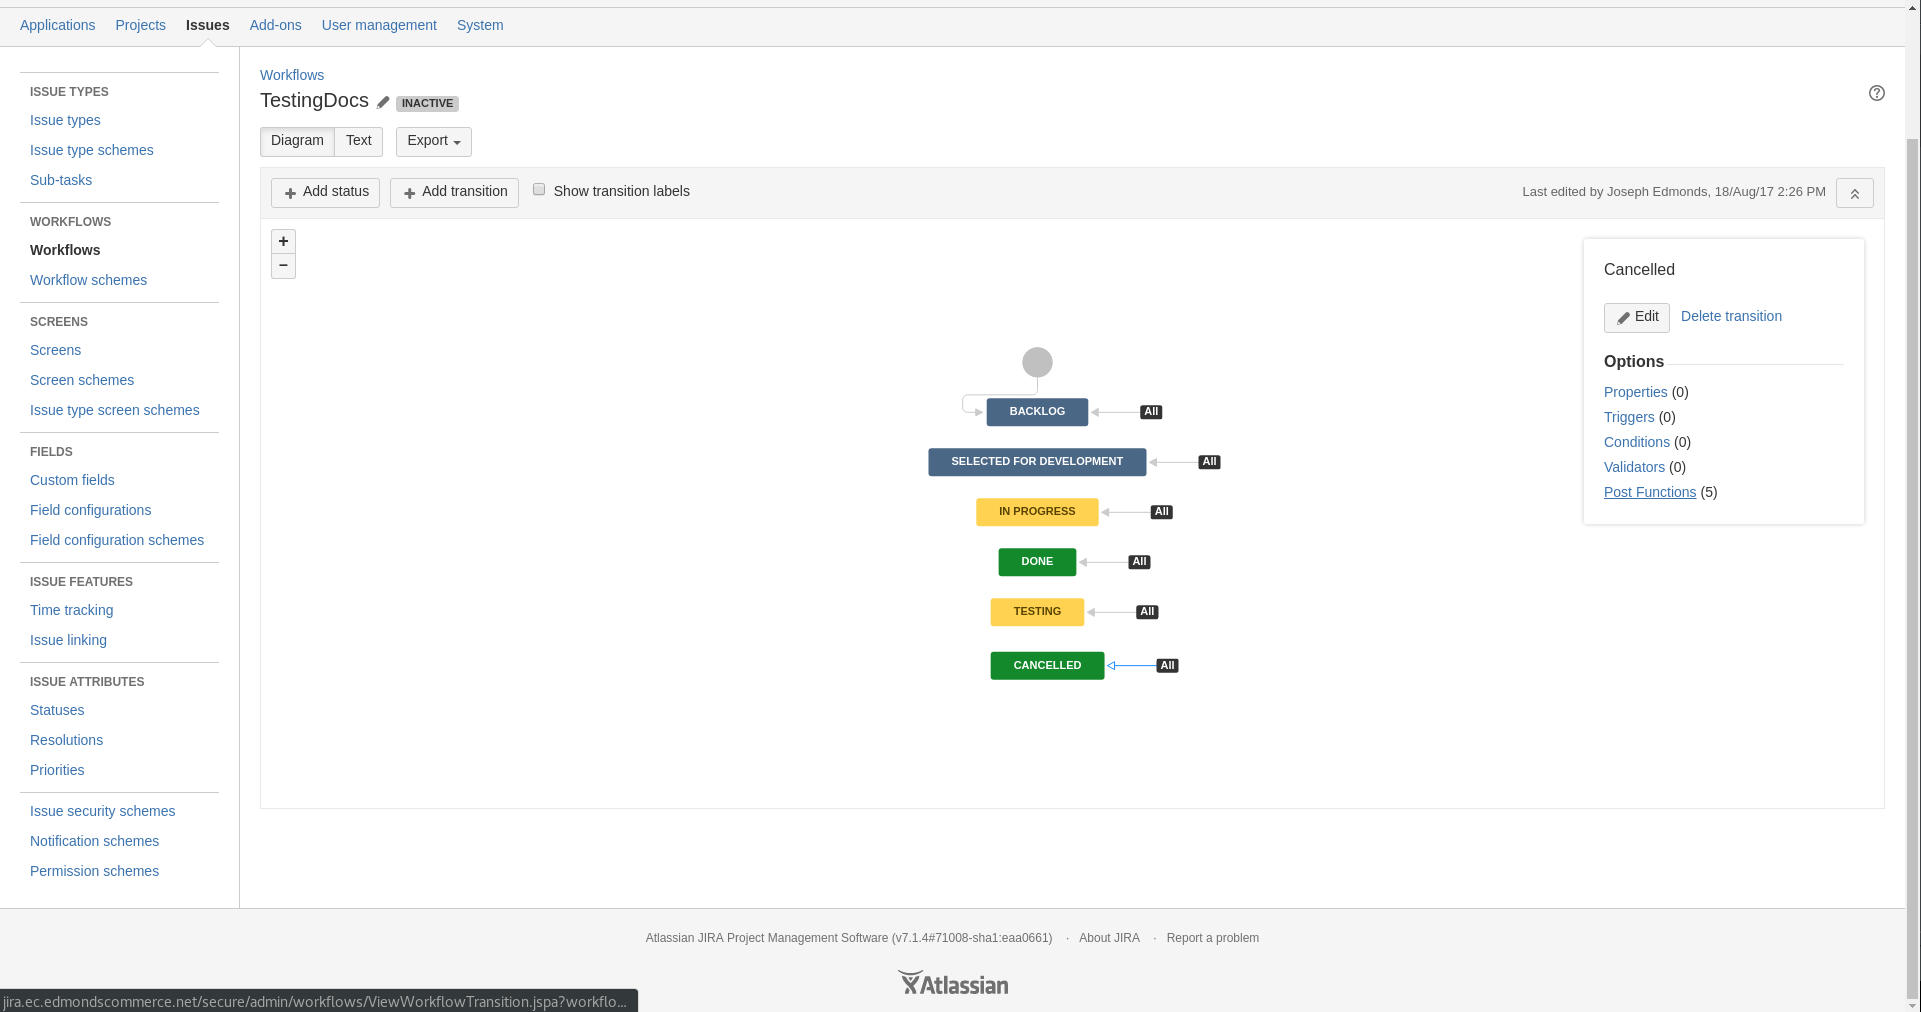
When you have done that and pressed add on the new status, you should now see it in the workflow diagram.
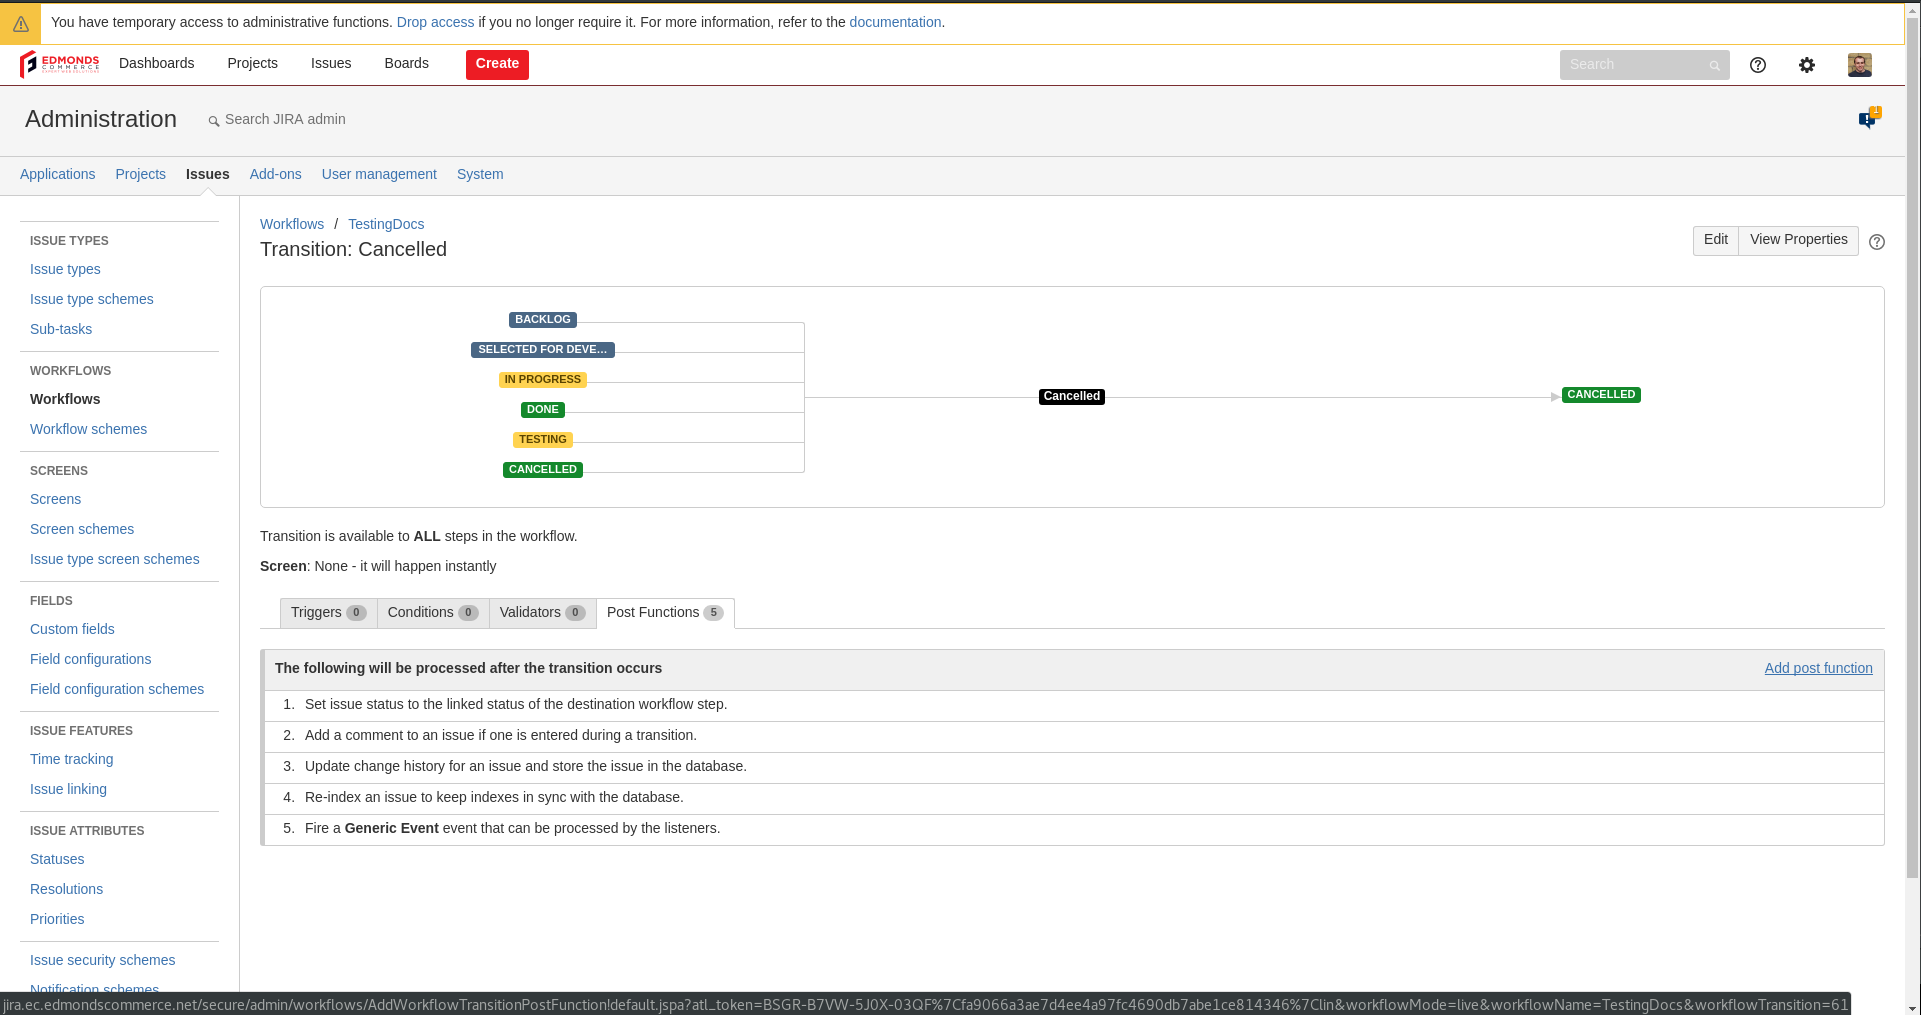
Now you see the new status in the workflow, you will not need to click on the little arrow which is next to the status. This should then open up a new window and the right, when you see this new window you want to click Post Functions.
You will then be redirected.
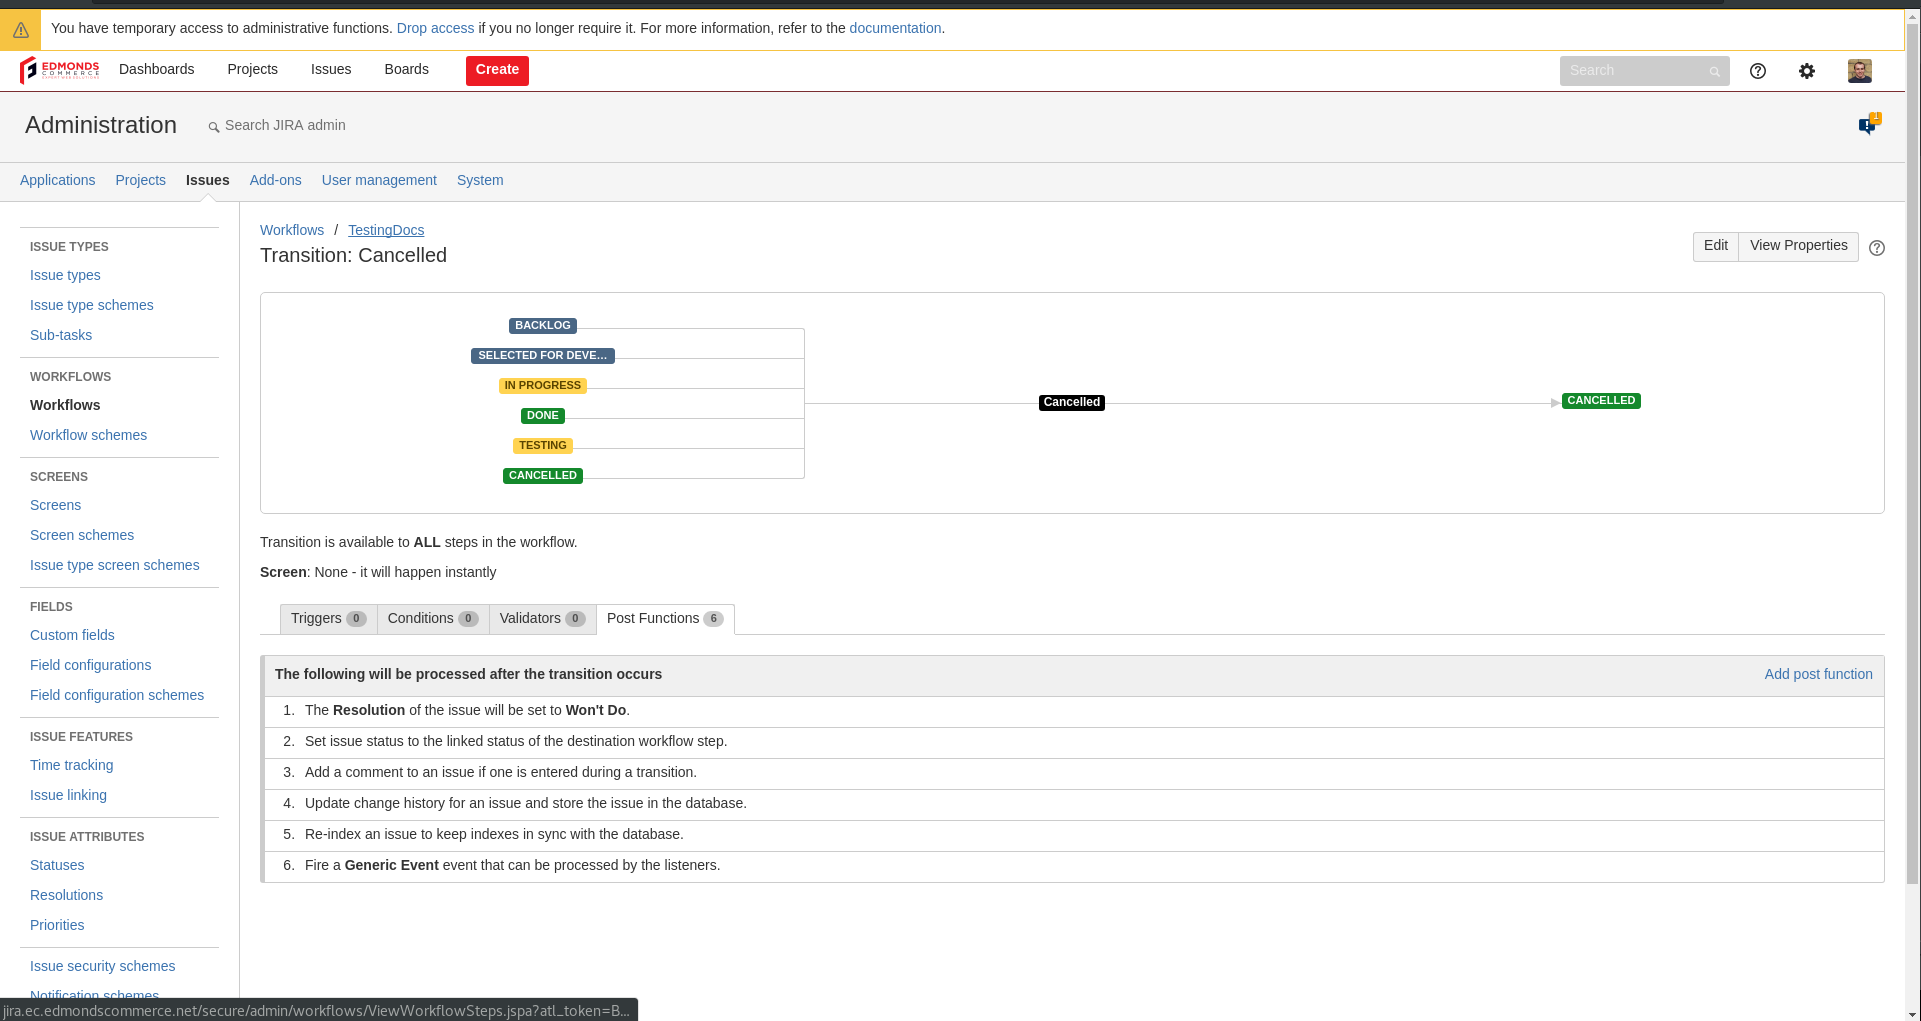
After clicking on Post Functions you should the same screen as the image below.
When you are on this screen you will need to click Add Post Function
After clicking Add Post Function, you will then need to select Update Issue Field
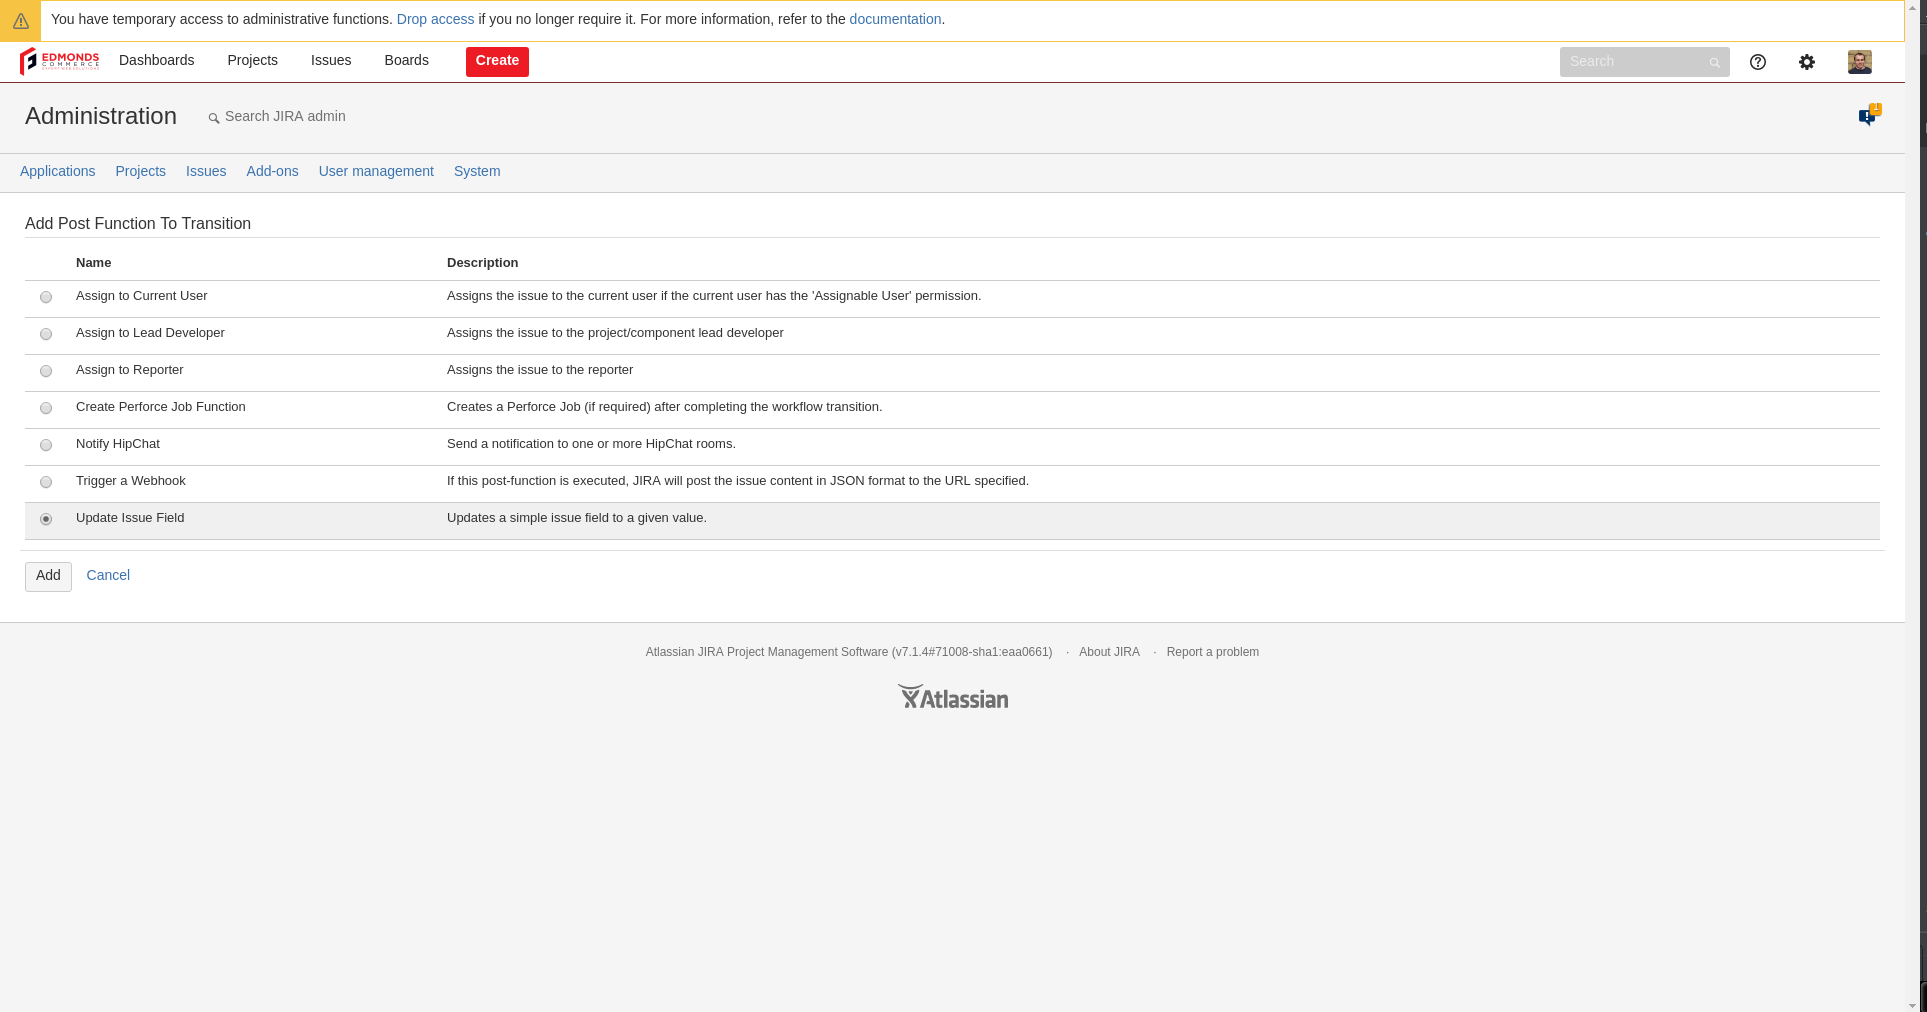
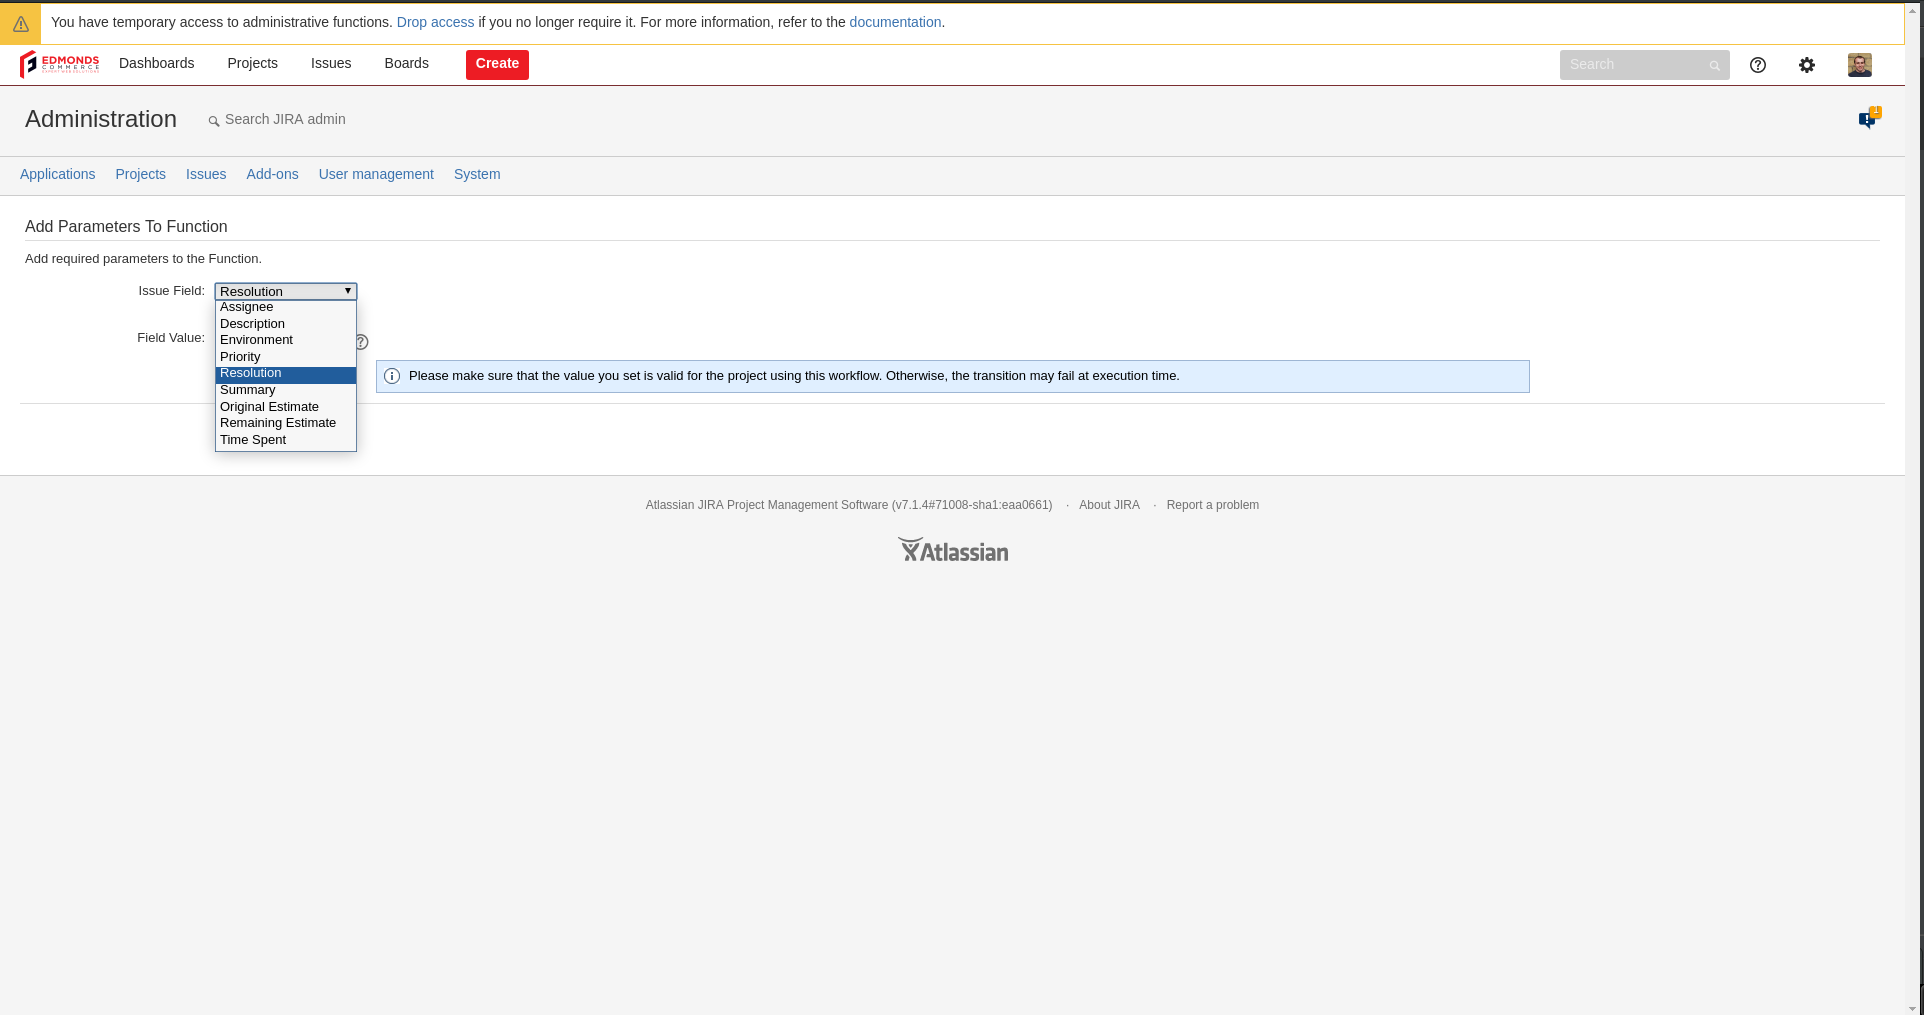
Now you have selected Update Issue Field you should now be on the same screen as the image below.
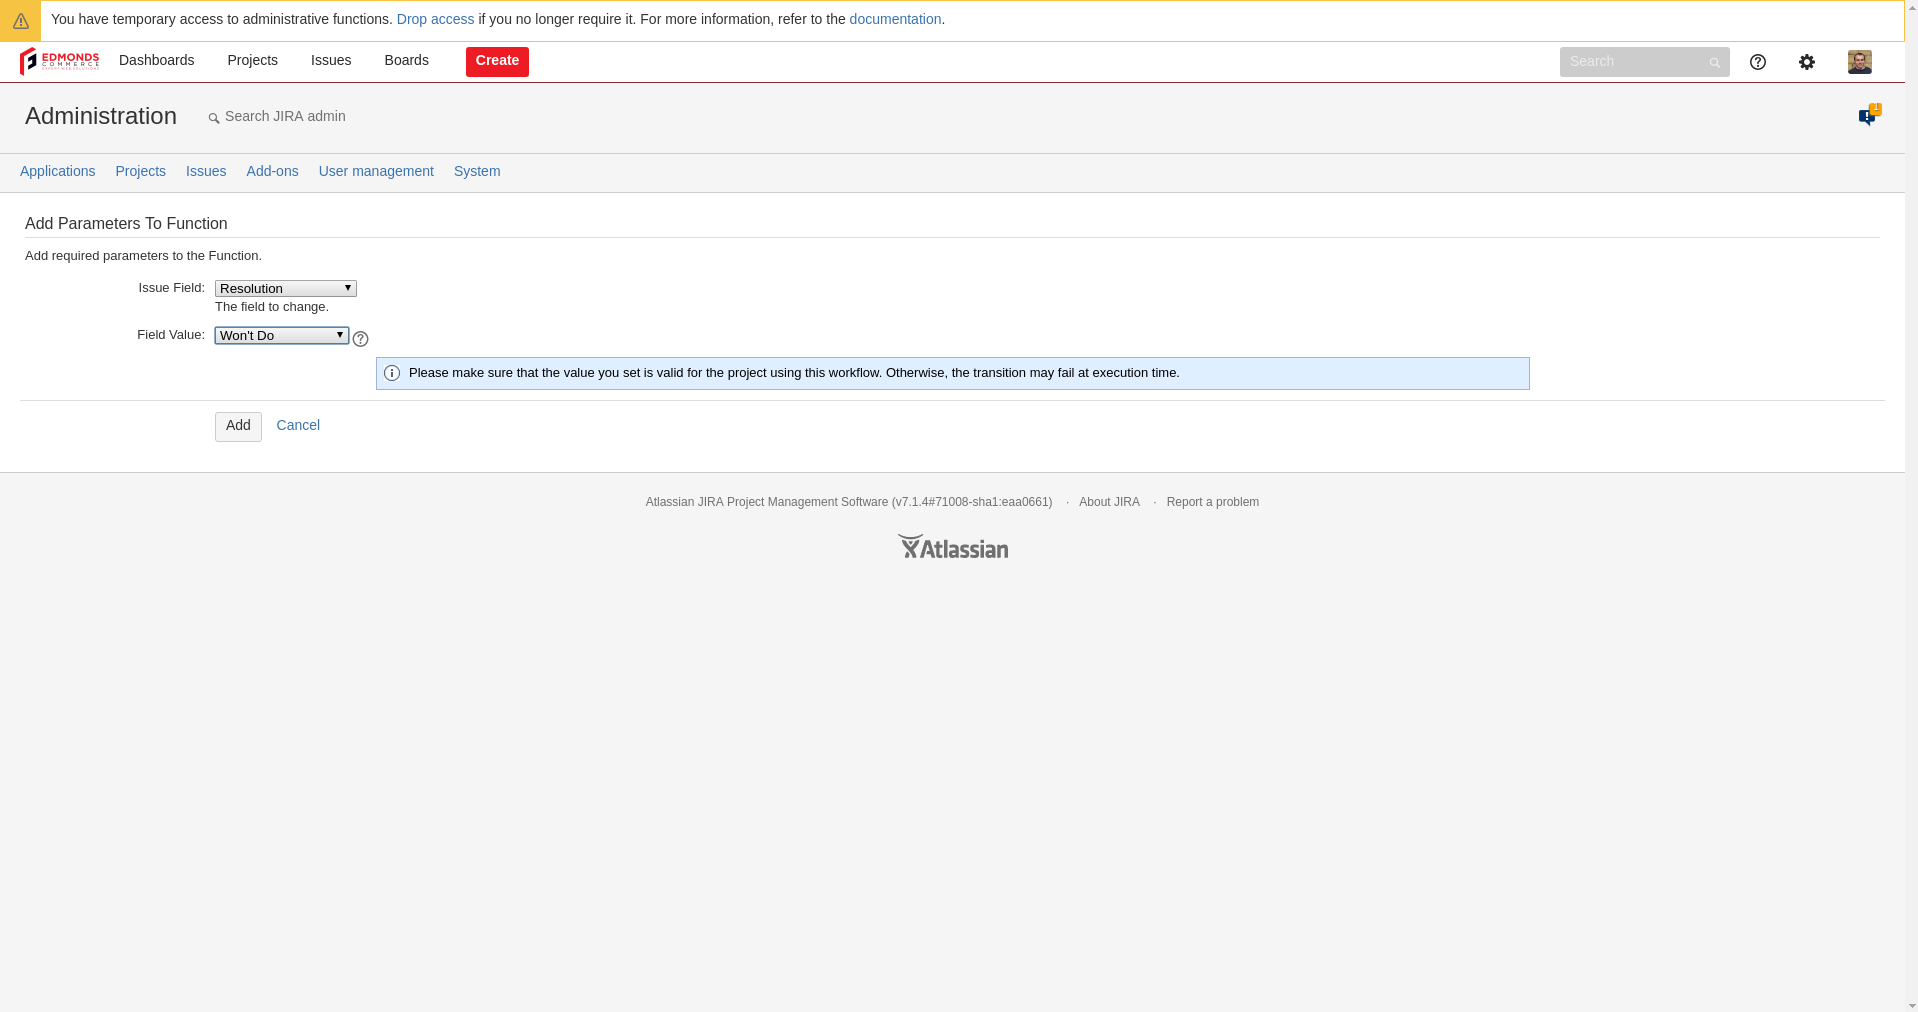
You will now need to change the Issue field to Resolution
When you have done the above you will now need to change Field Value to Won't Do. All you need to do now is press Add
When you have followed the previous step, you should now see Transistion: Cancelled with the new function at the bottom of the page.
Well Done! you have now created your own workflow, now to move onto workflow schemes
Creating a Workflow Scheme
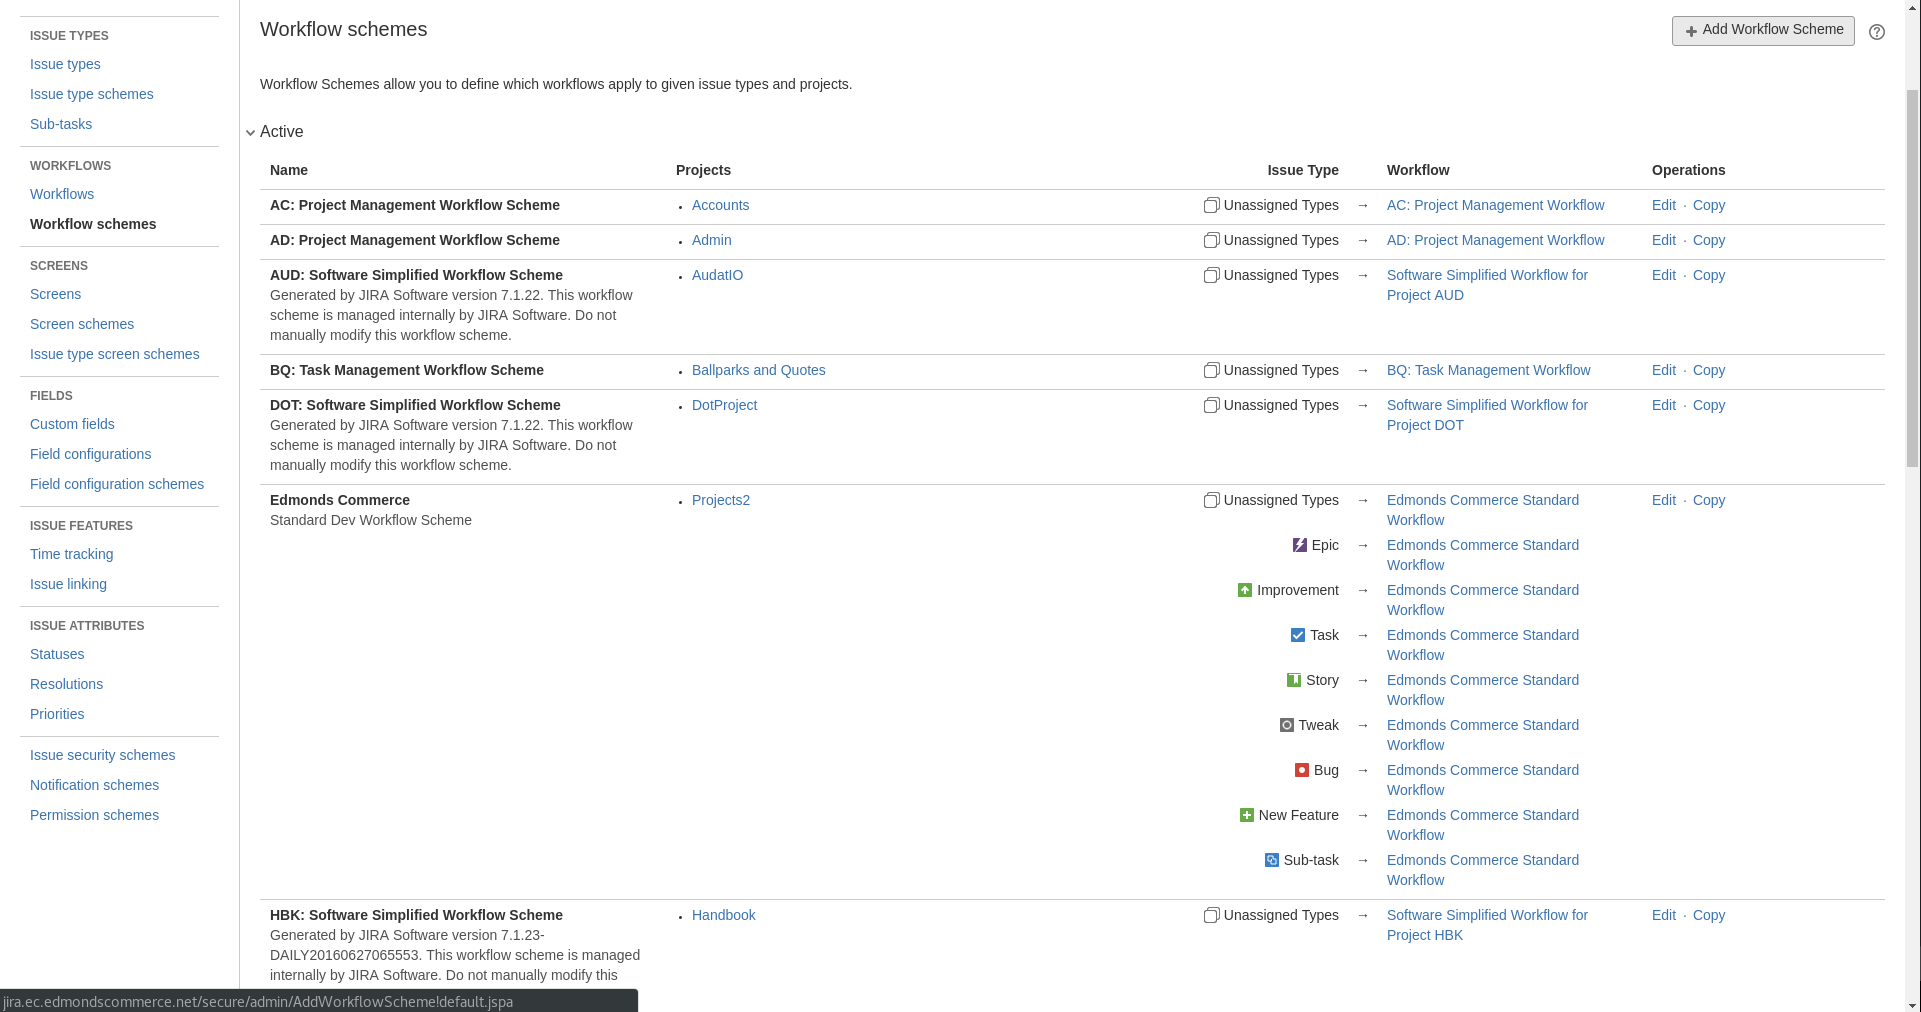
Firstly you will need to navigate to the workflow scheme section of Jira.
From here you will want to press + Add Workflow Scheme
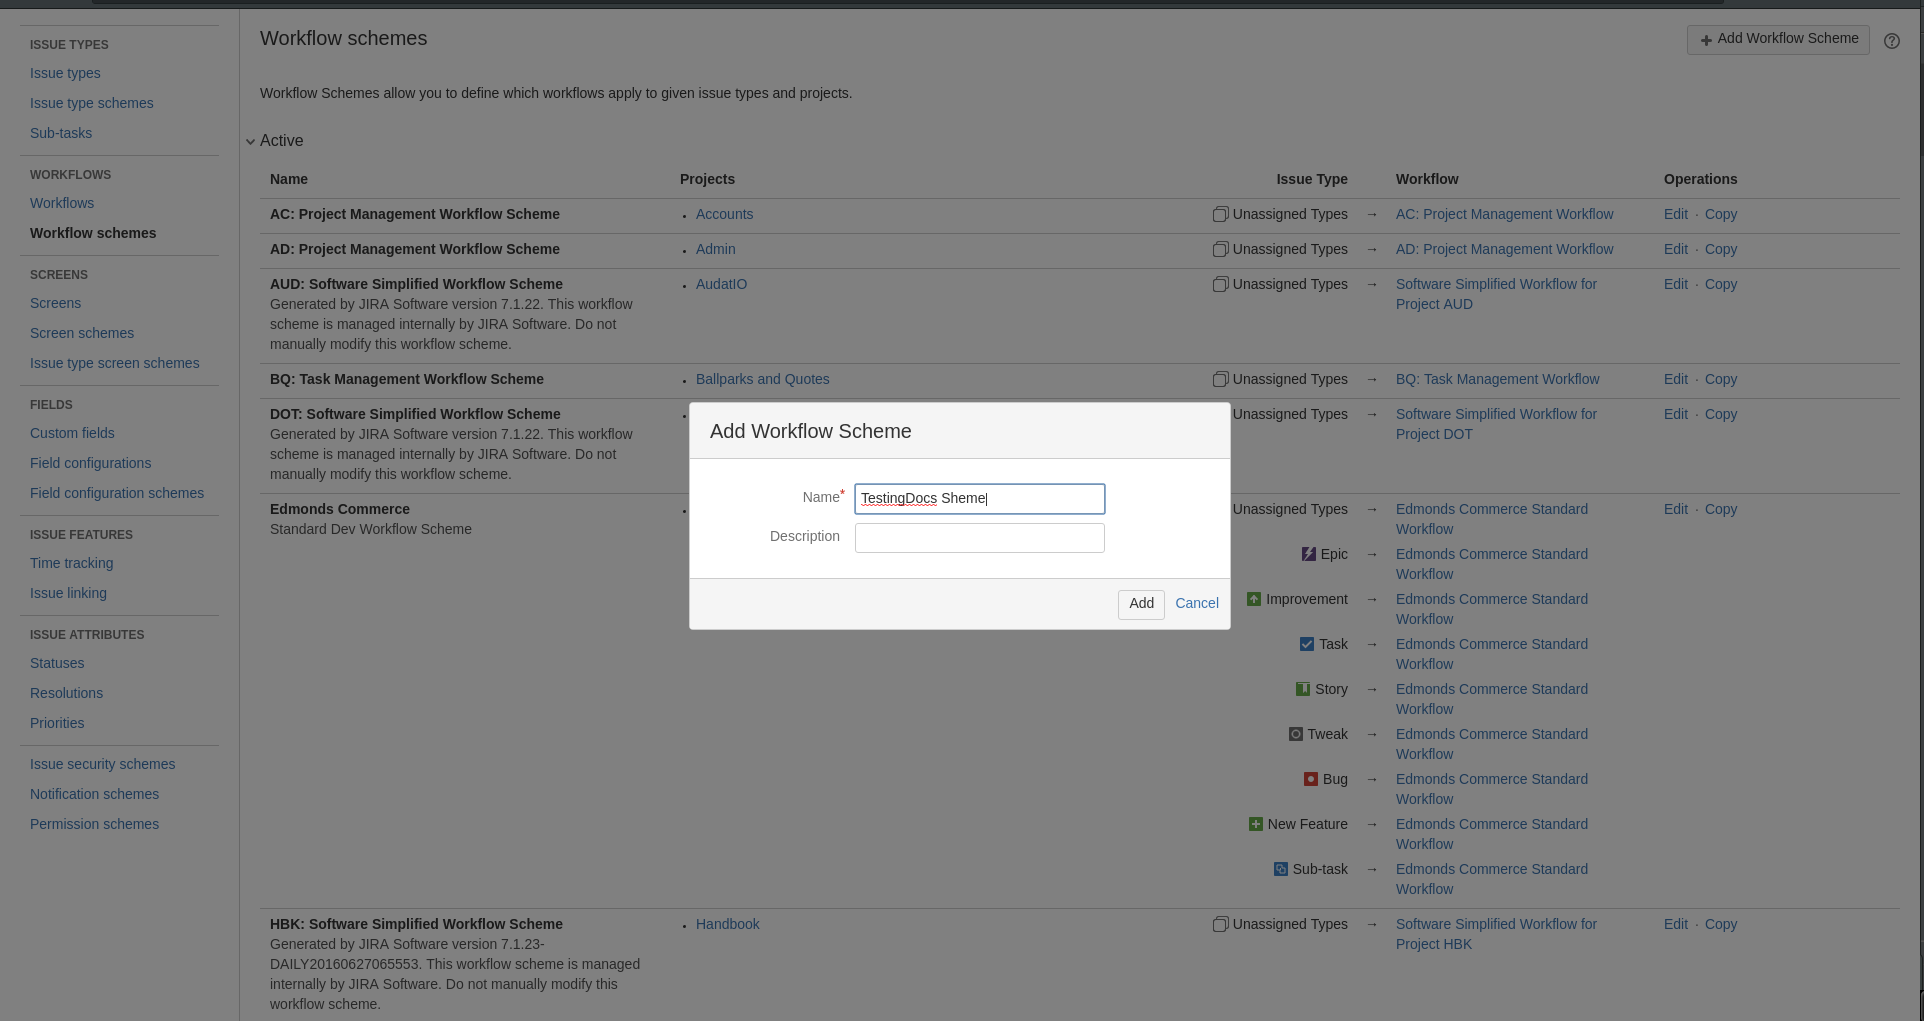
After pressing + Add Workflow Scheme you will see a window pop up asking you to name the scheme. Use the same naming structure we used for the workflow.
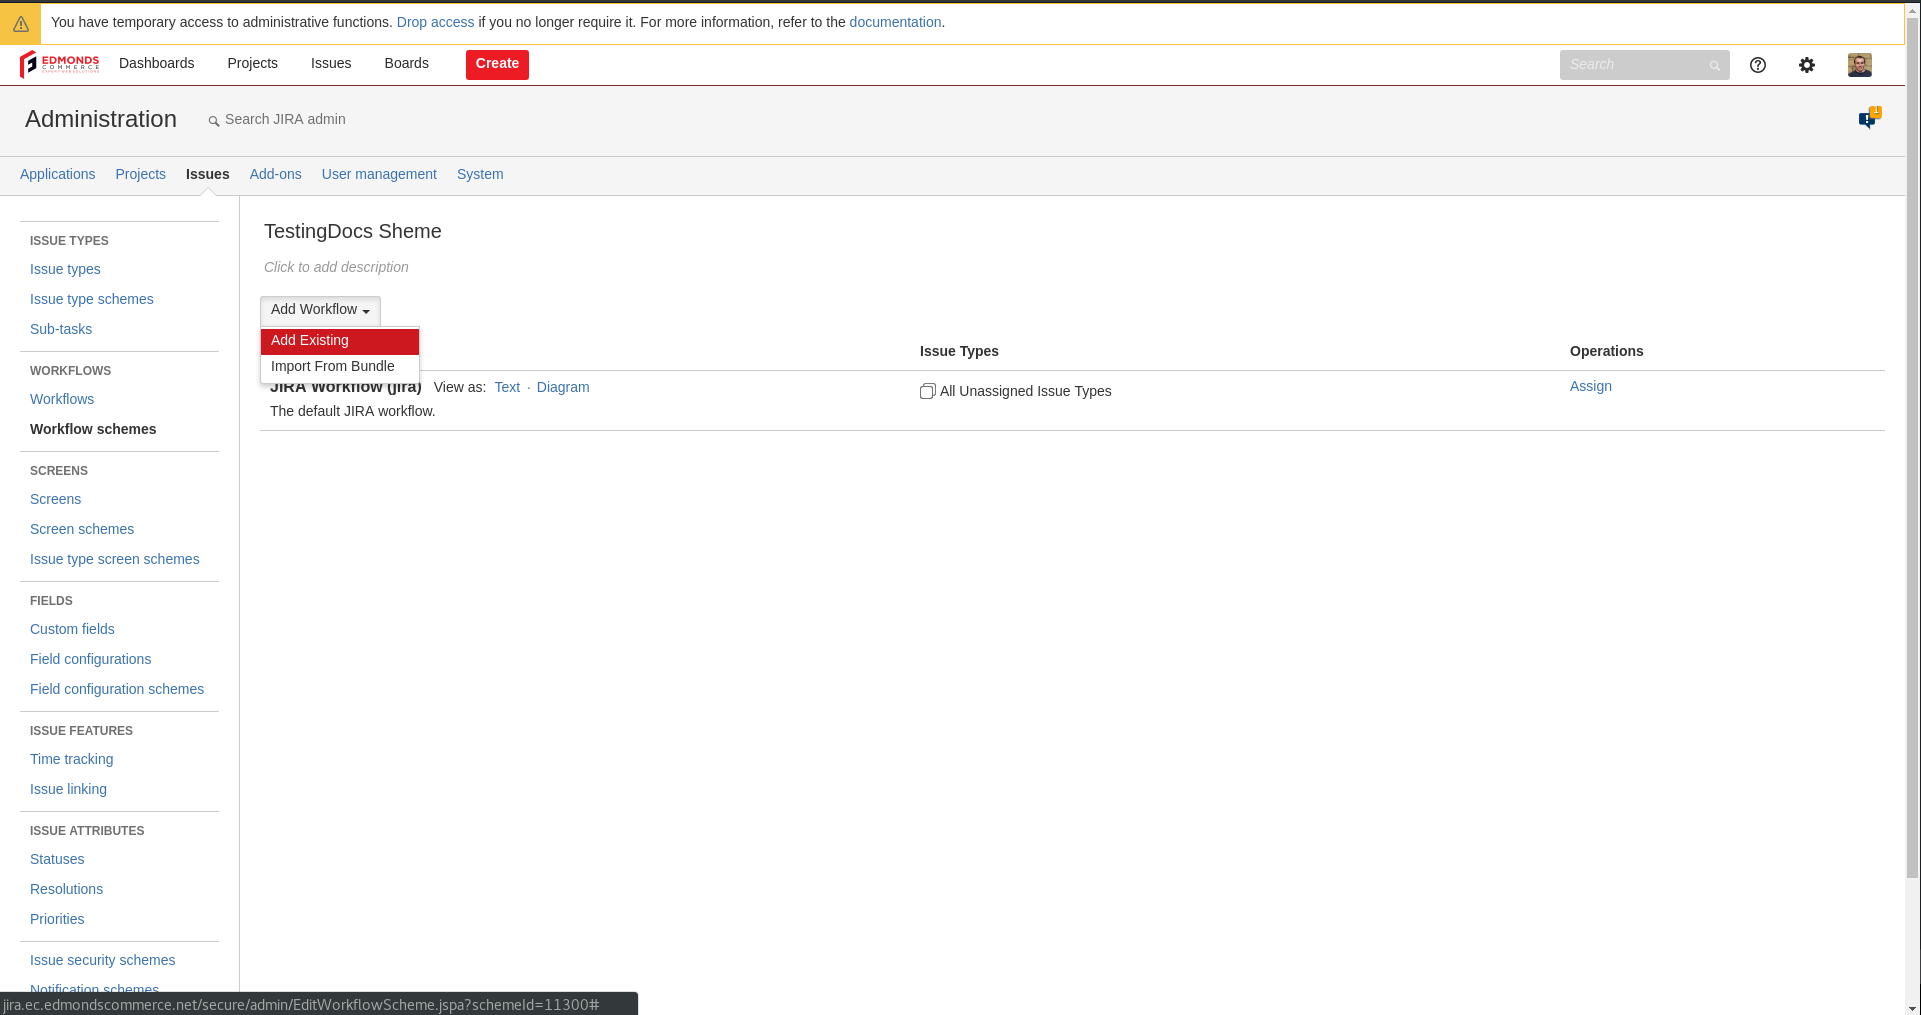
Next you will be redirected and you will need to press Add Workflow then press Add Existing
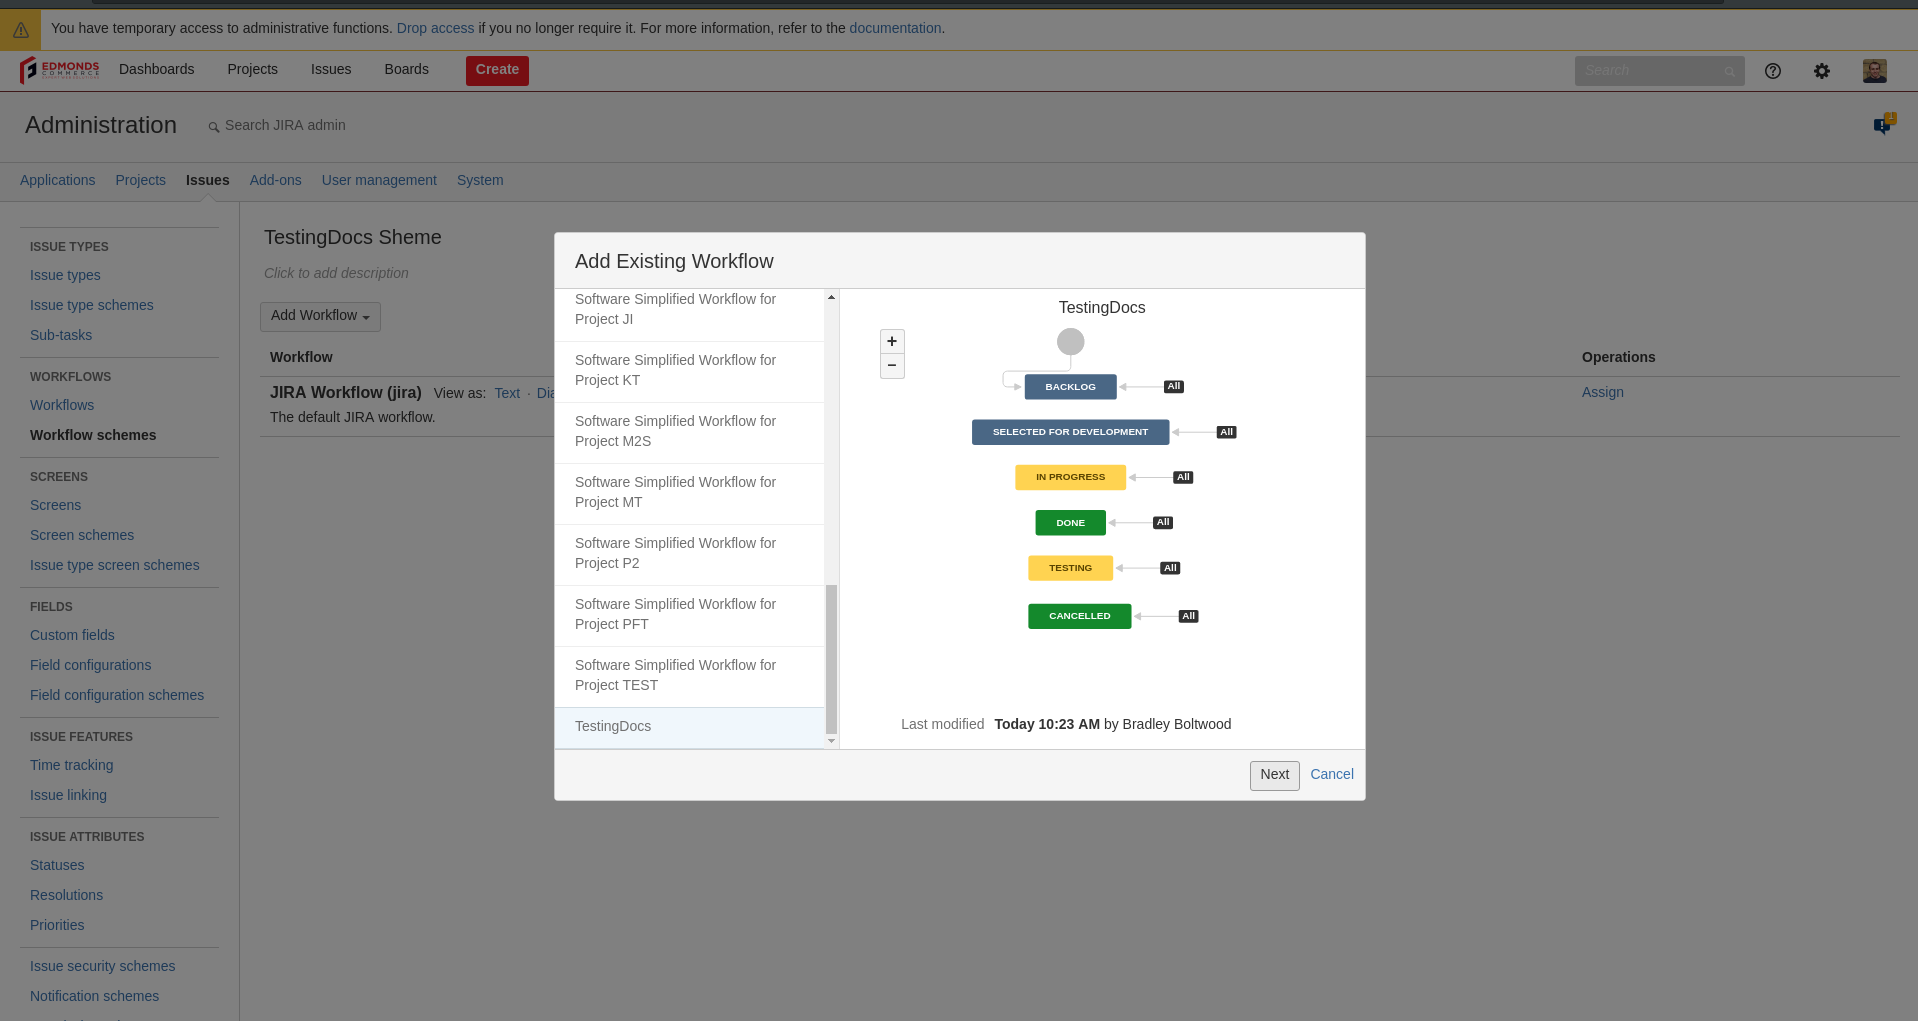
After doing the above step you should see a list of all the existing workflows with a preview of the status's they have.
You need to find the one you made earlier and the press Next
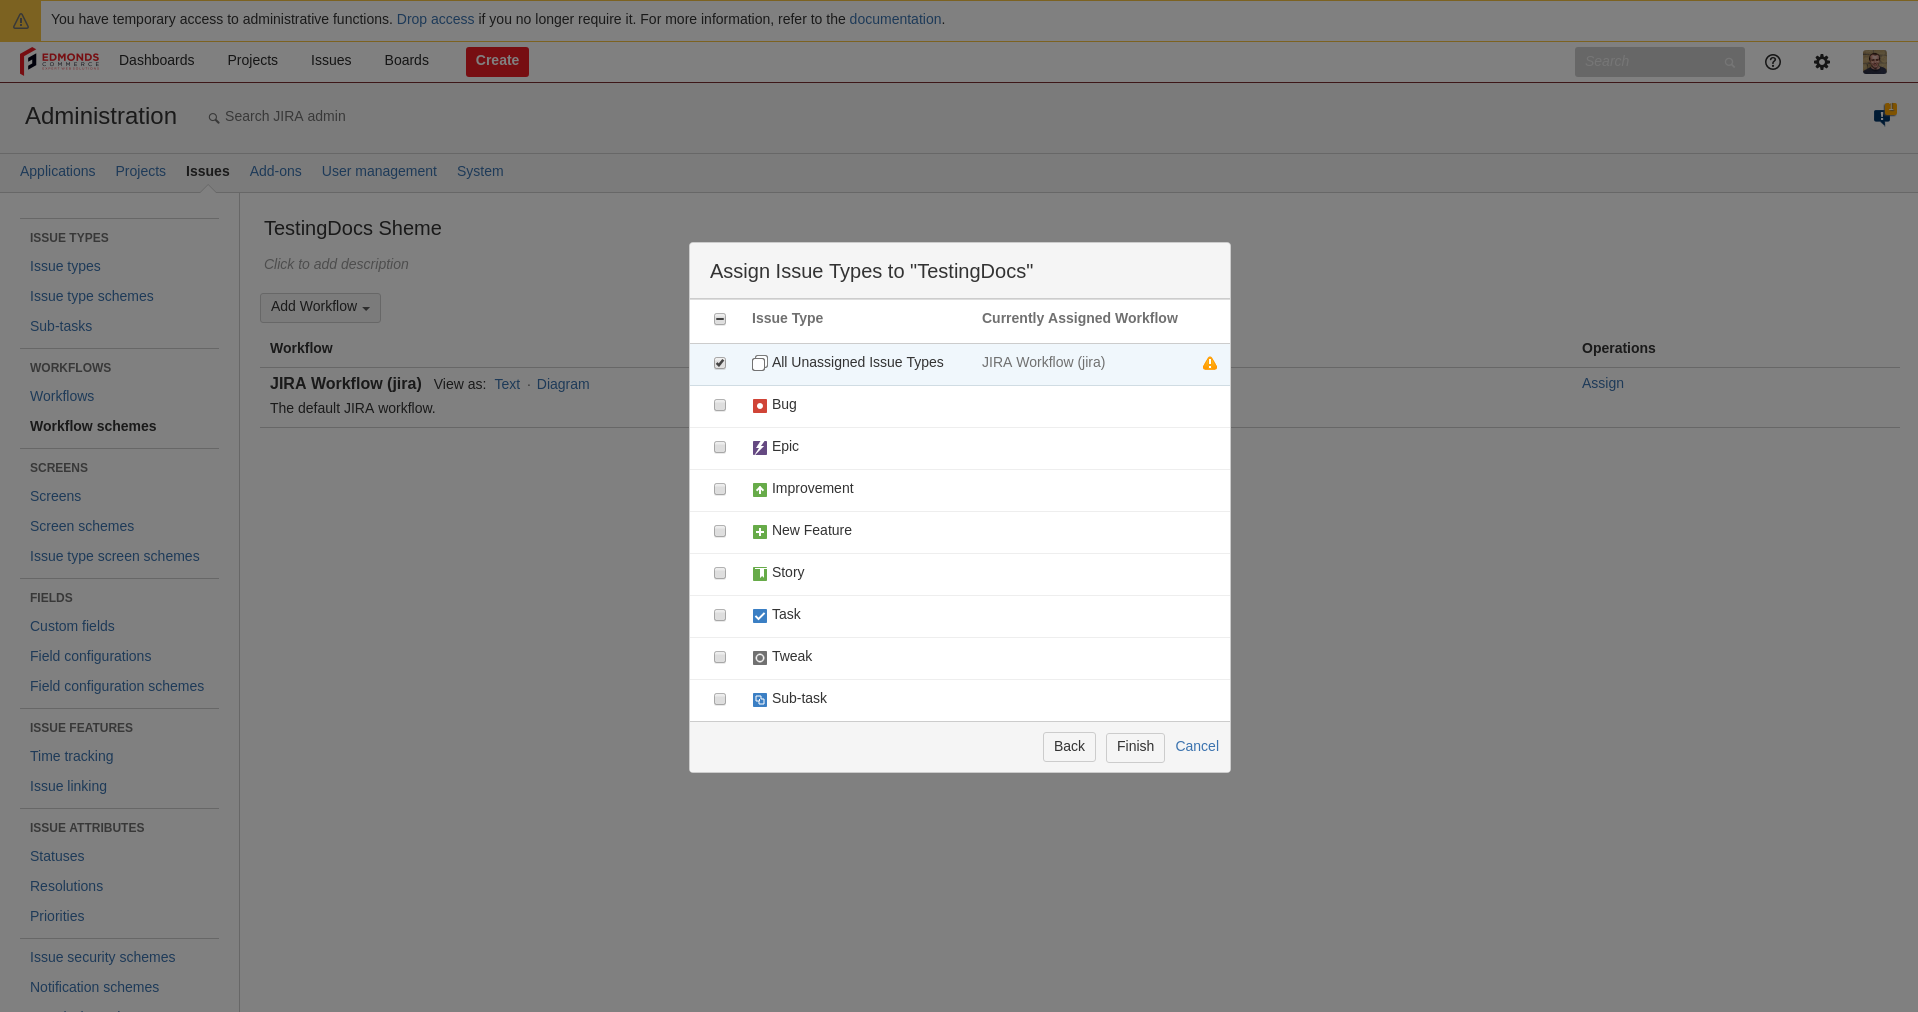
You should now see the same screen as the image below, all you need to do here is select All Unassigned Issue Types and press Finish
That's it! you have now created a new workflow and workflow scheme which is now ready to be added to the project you need it for.
Applying the Workflow
This guide will quickly cover how to apply an existing or newly created workflow to an existing project
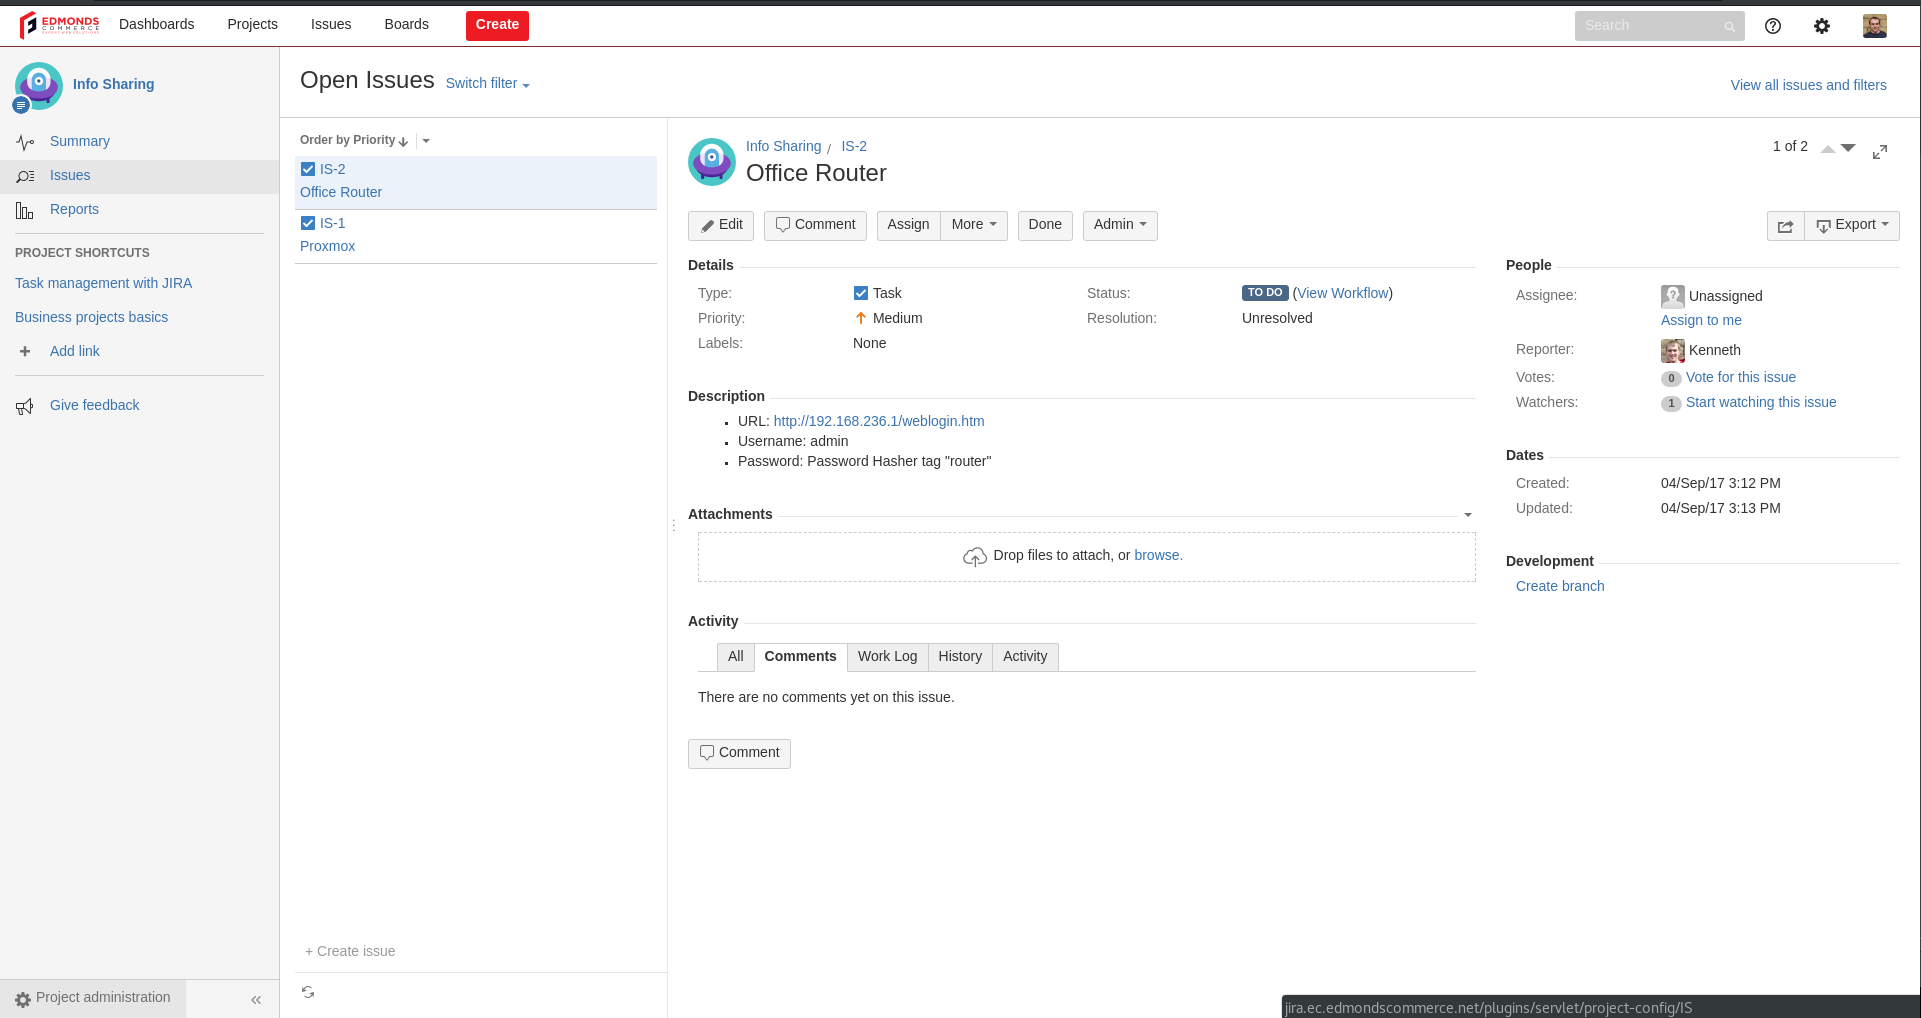
What you will need to do first is open the project you would like to apply the workflow to.
When you are on the project you will need to navigate to the bottom right of the page and press Project Administration.
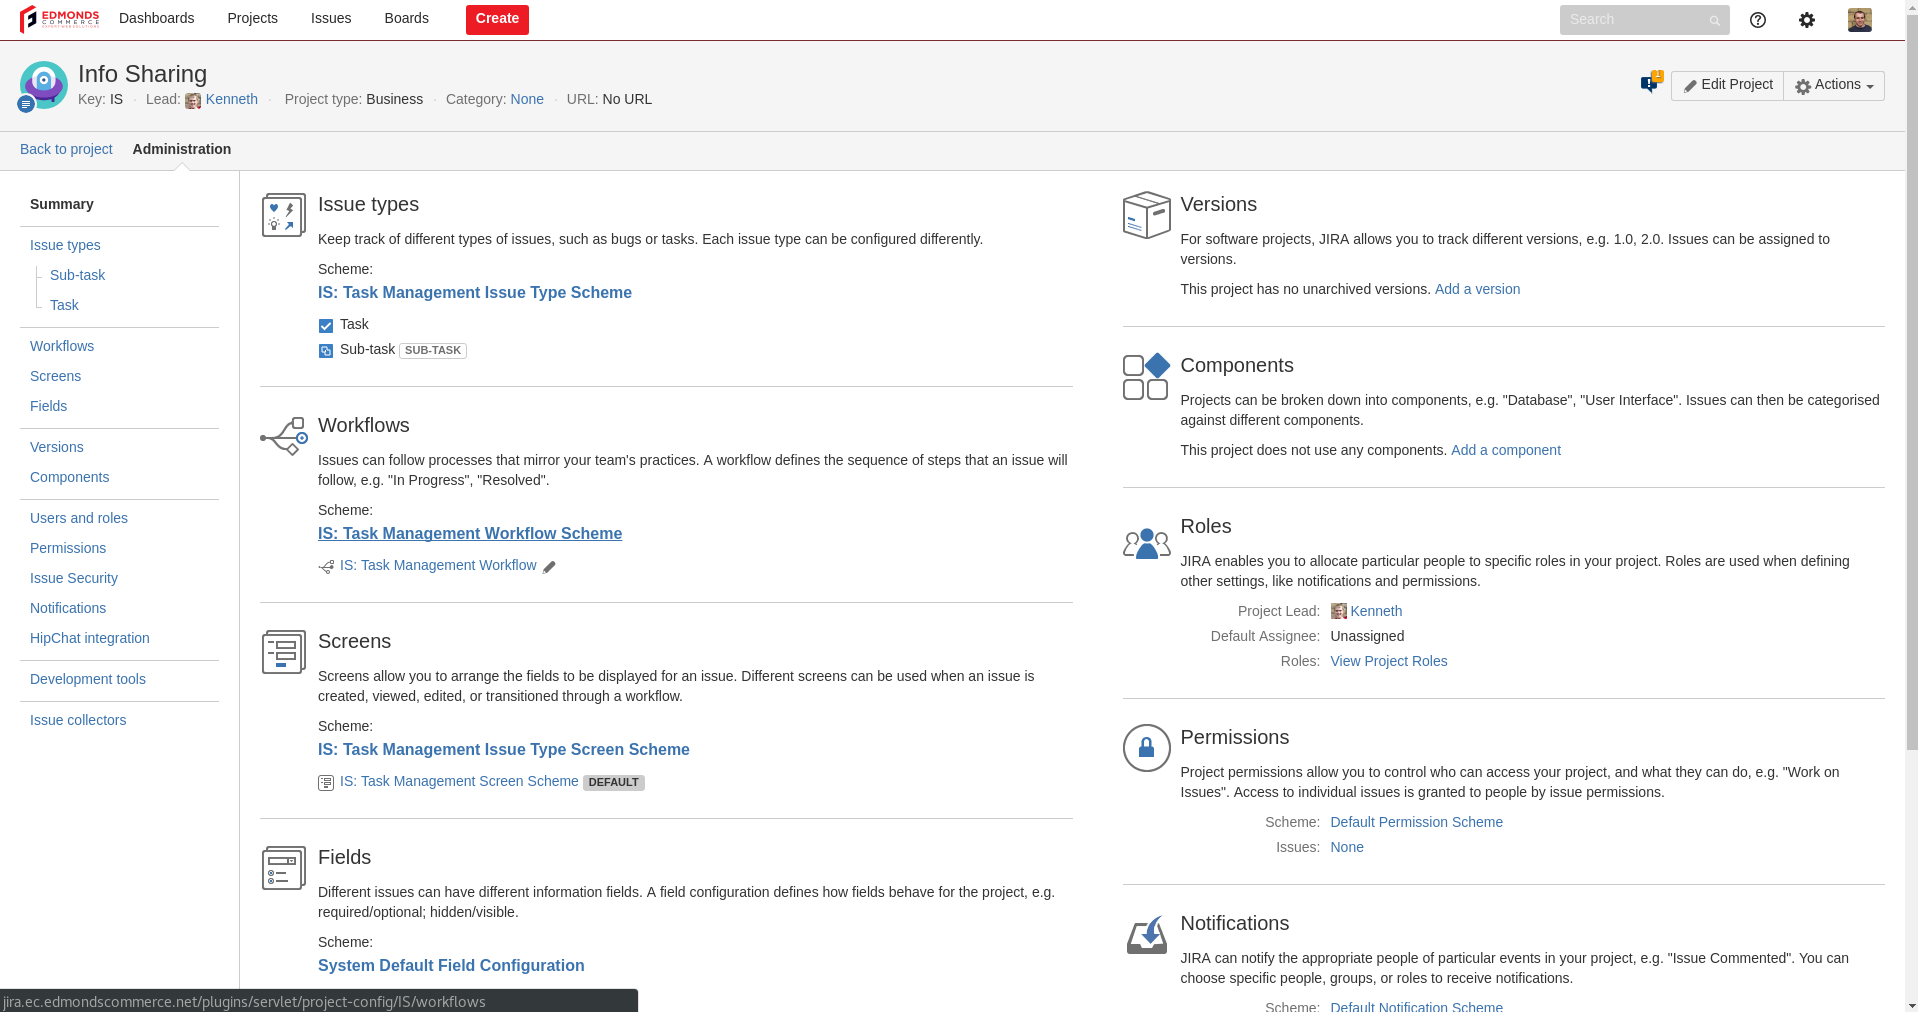
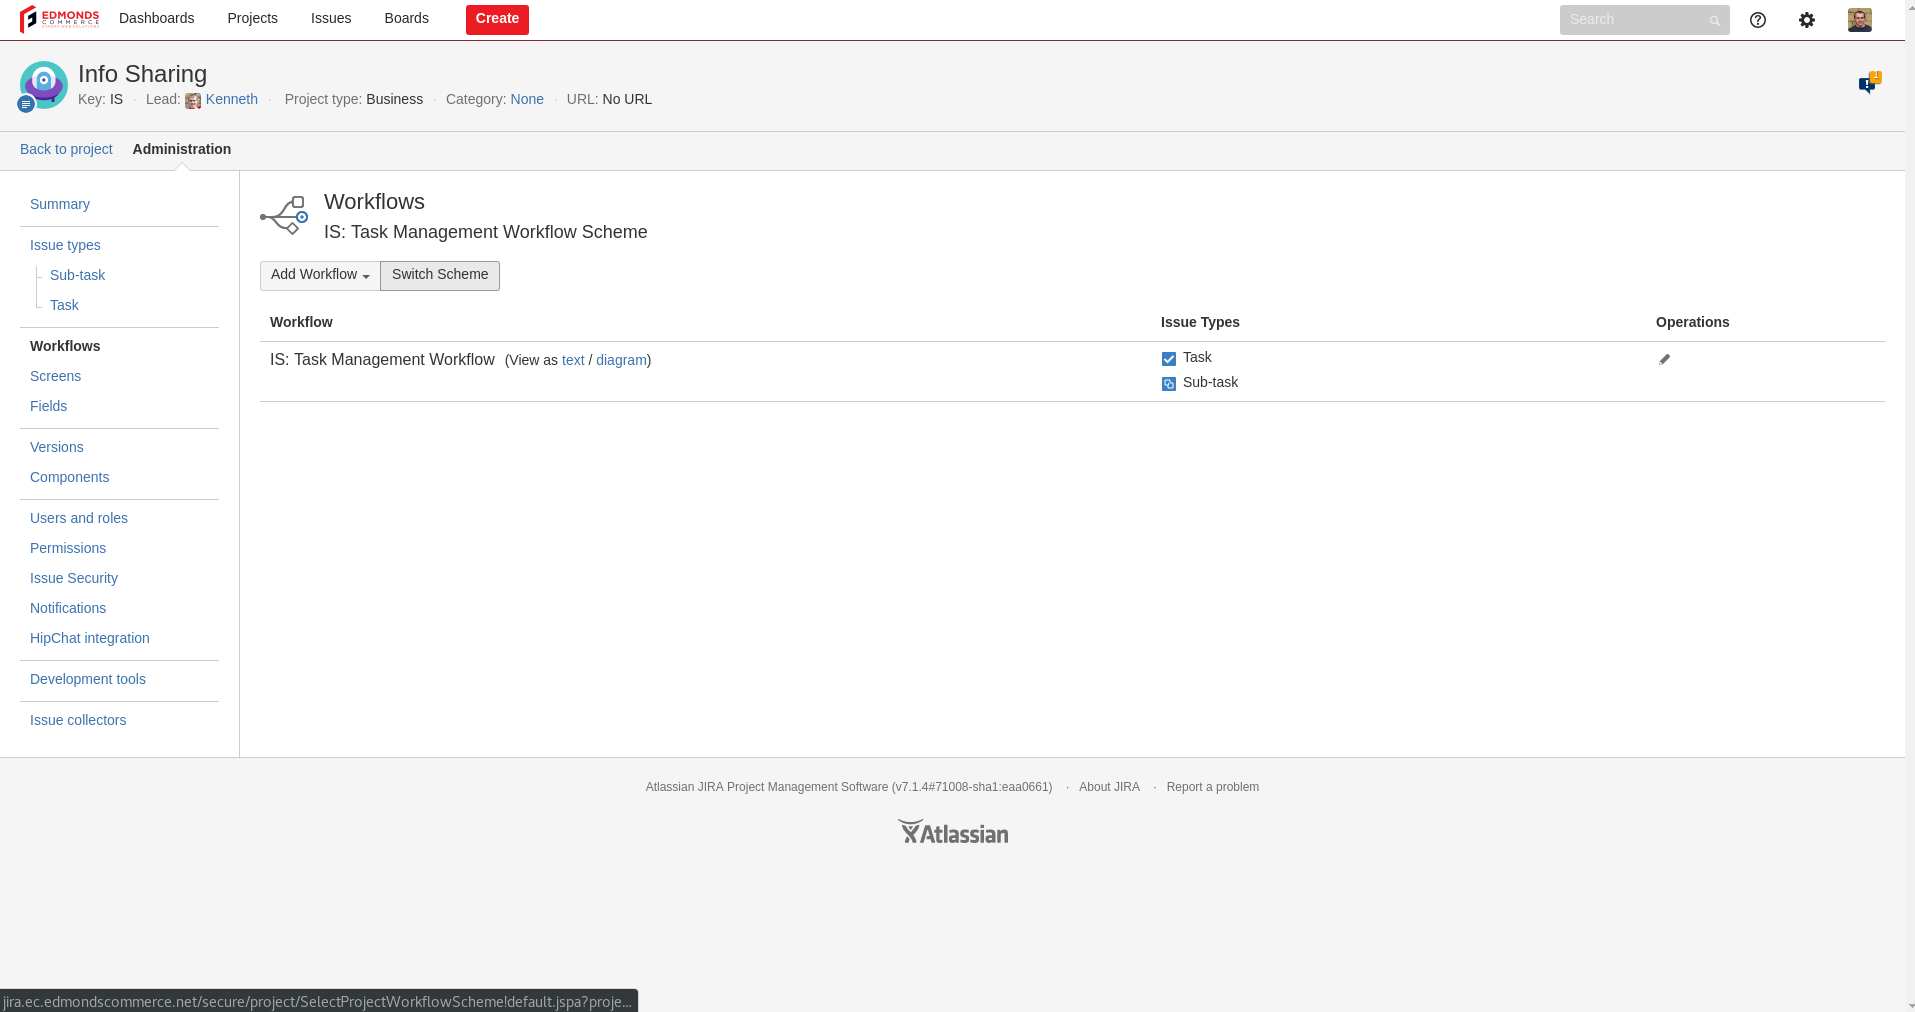
Next you will need to click on the current workflow scheme which is active on the project.
After completing the above step you should see the screen below. All you need to do on this screen is press Switch Scheme
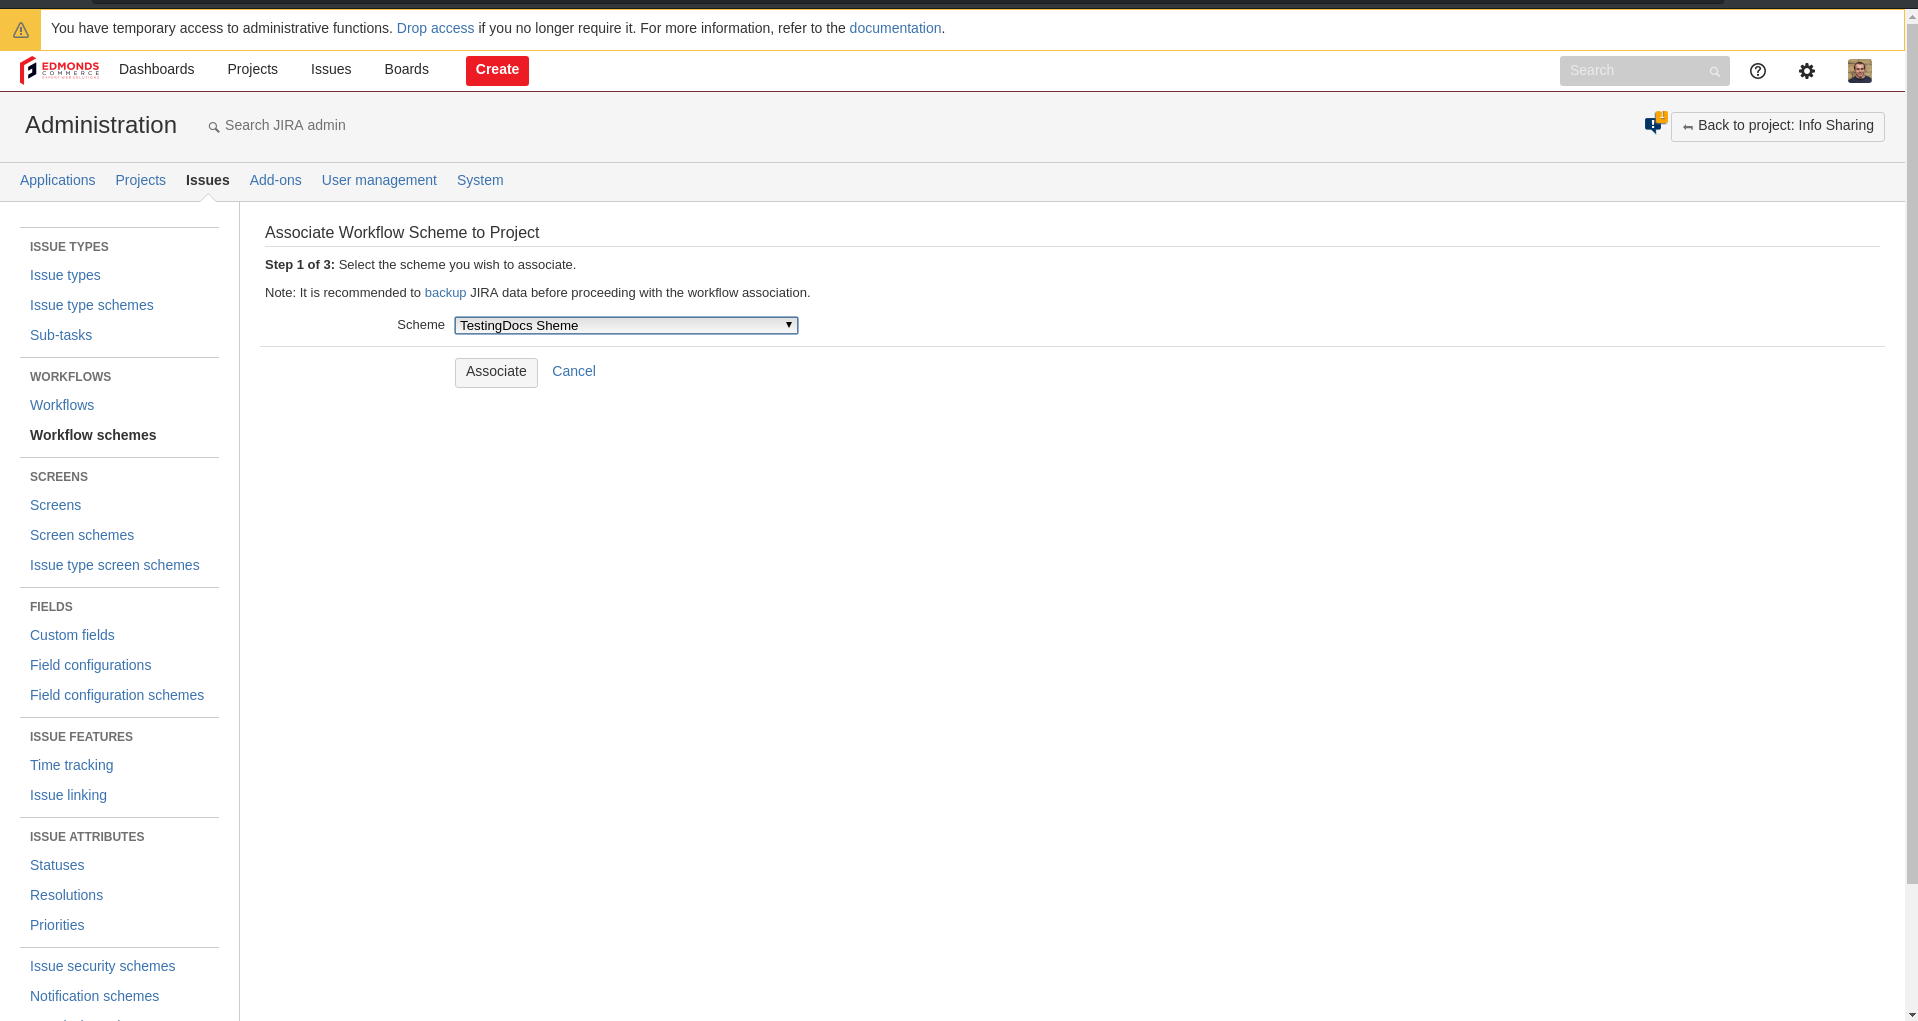
Next you will want to click on the drop down and then select the workflow you would like to use then press Associate
After pressing associate you will see one of the following two screens, this one is due to a status which was in the old workflow was not included in the new one so Jira is changing the status of the tasks already in the project.
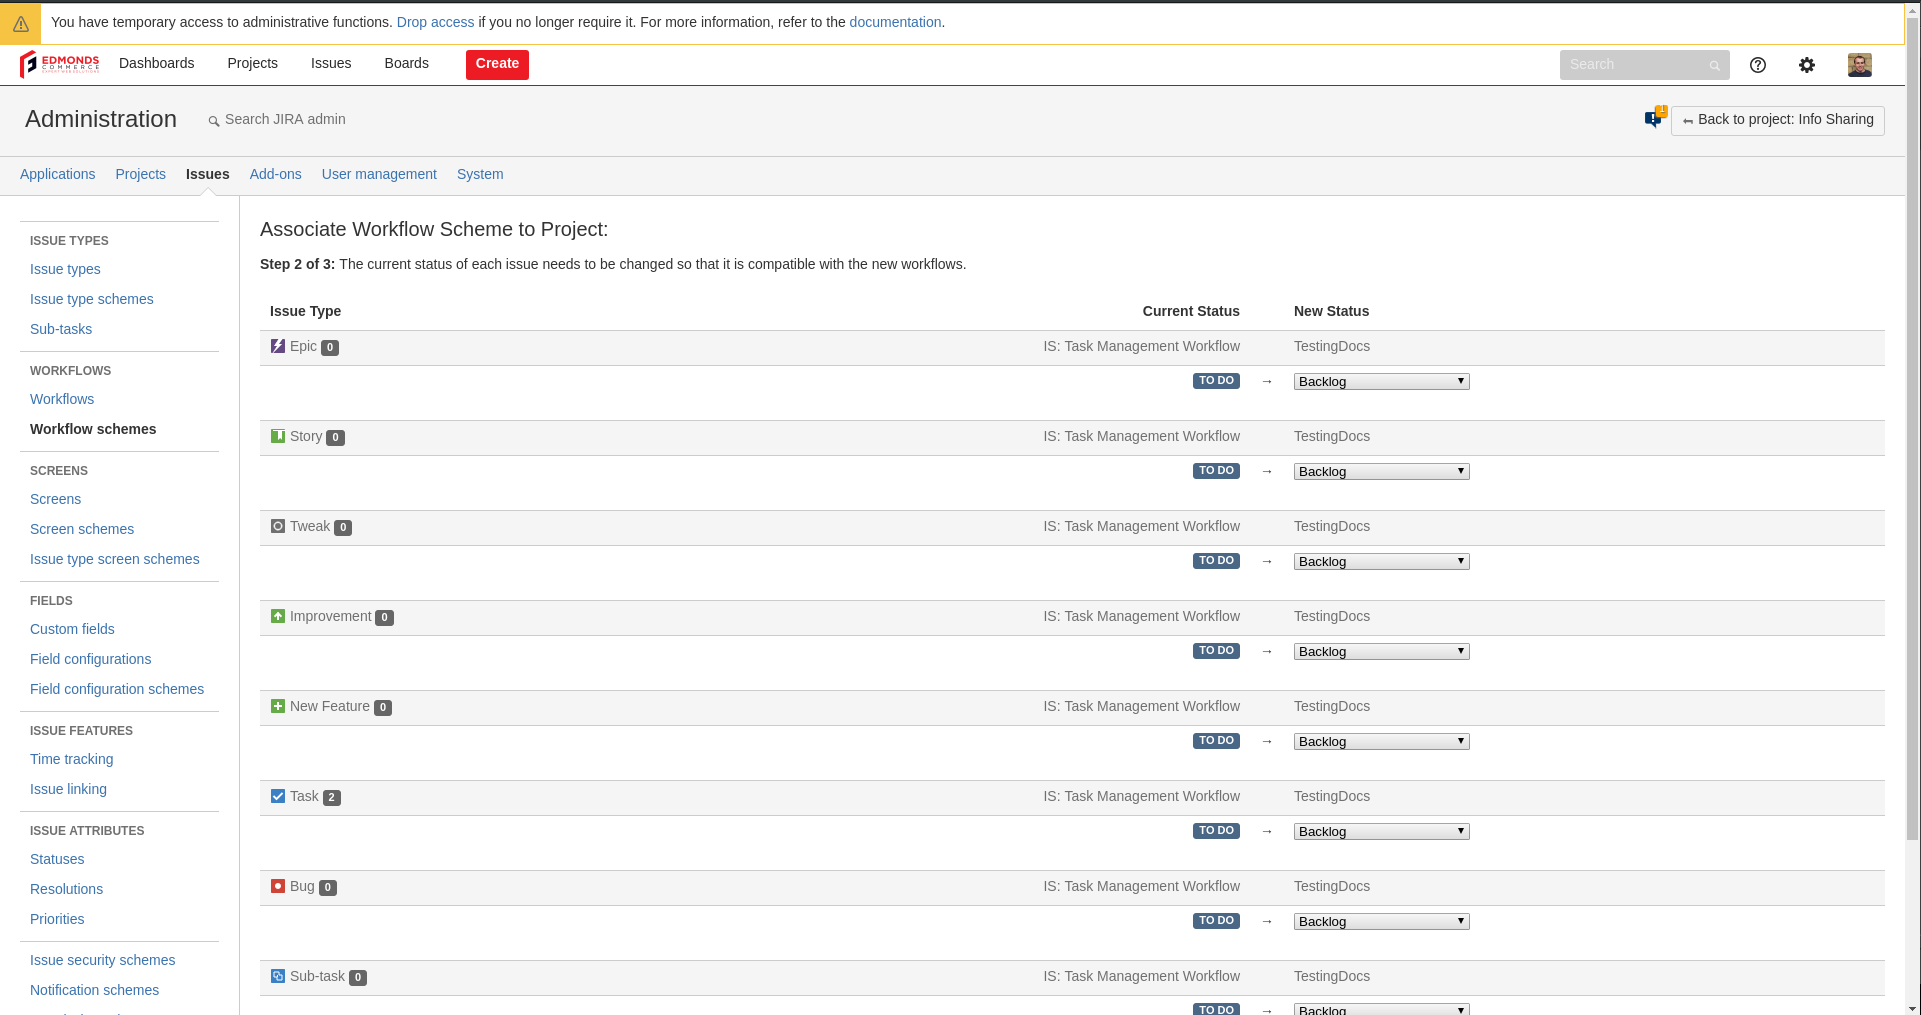
If you see this screen there is no need to worry about changing anything and you can just press Associate at the bottom of the page
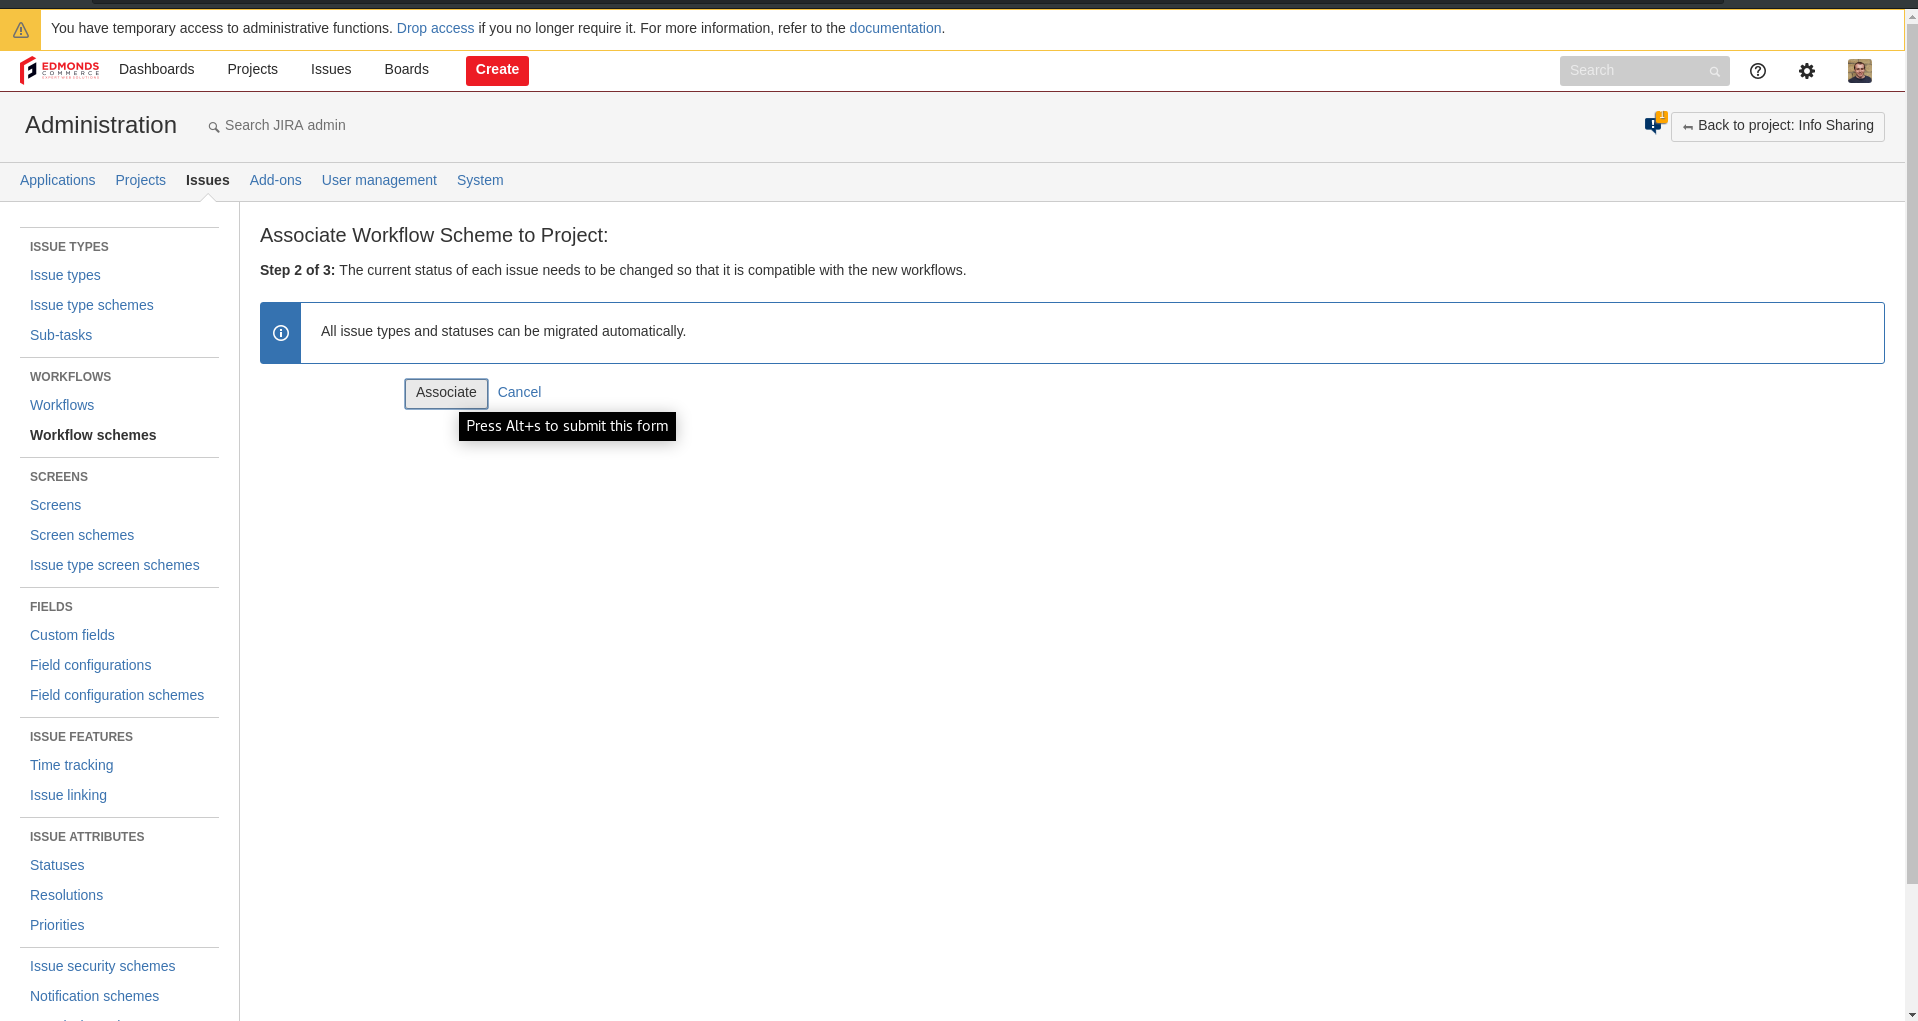
When you have completed the previous step, you should see a progress bar.
Once the bar is full you should be able to press Acknowledge and you are finished.
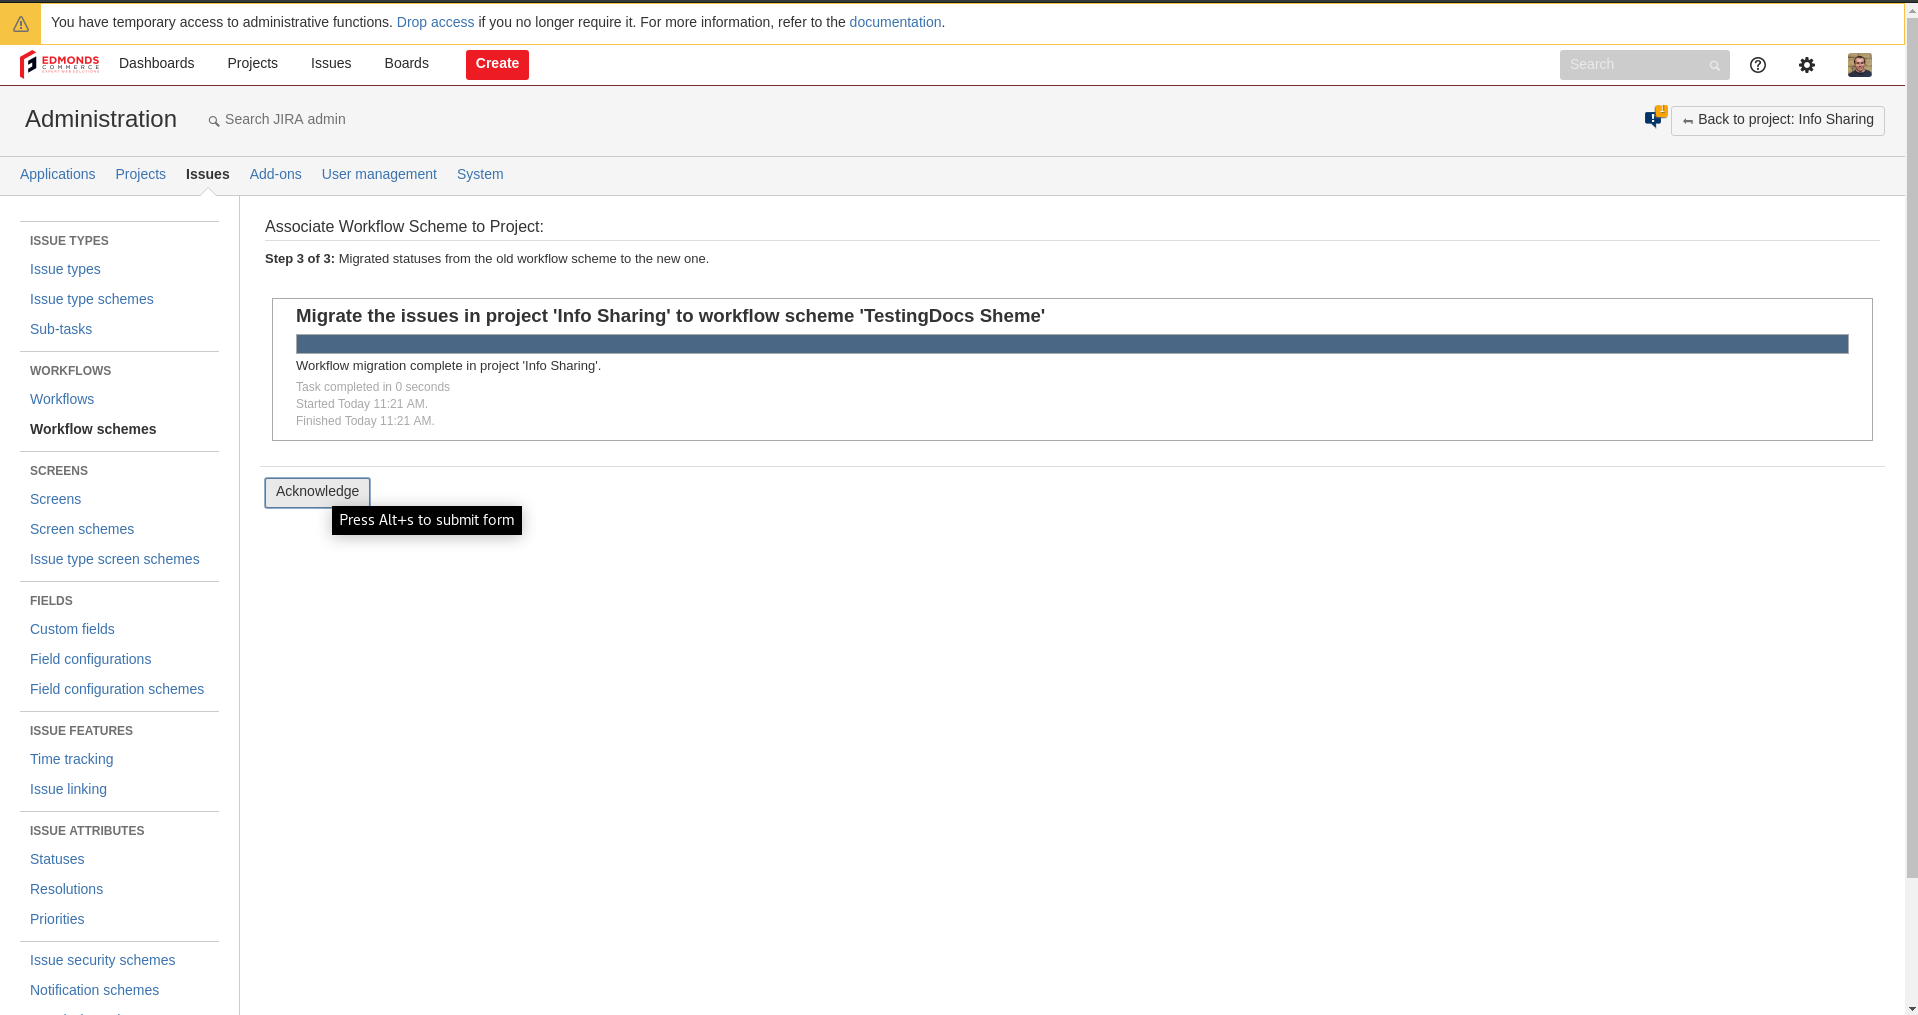
Well Done! You have now applied the workflow to the project.